
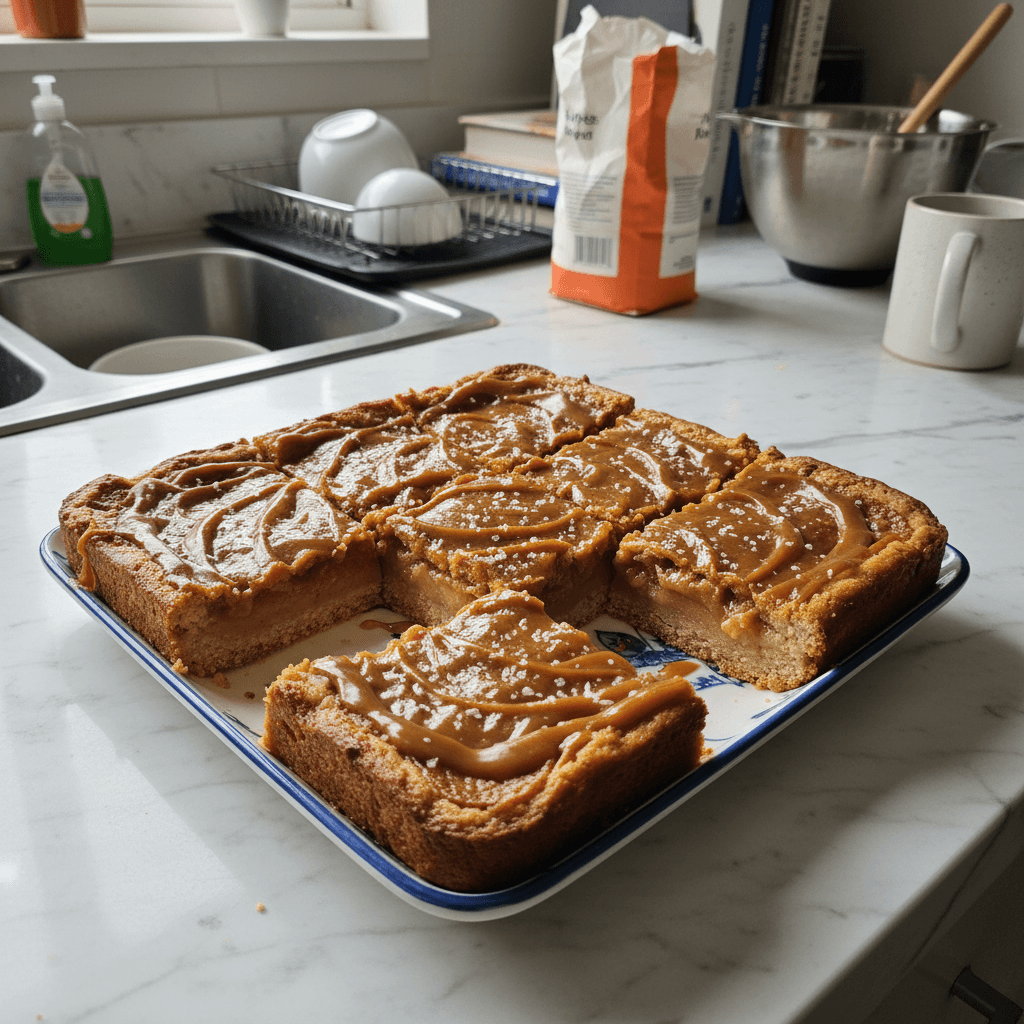
Honestly, fall isn’t truly here until my kitchen smells like baked apples and caramel. I remember the first time I tried to make something like these Irresistible Salted Caramel Apple Bars for Fall, it was a blustery Saturday, leaves swirling outside, and I had this vision of a perfectly golden, gooey dessert. What I got was a little less perfect, a lot more burnt edges, and a caramel spill that took ages to clean. But the idea was there, that sweet-tart apple hug wrapped in buttery goodness. These bars, though, are the refined, less messy, utterly comforting version of that memory. They’re special because they taste like home, like crisp air and flannel shirts, and honestly, they just make me happy.
The second time I made these, I was so focused on getting the caramel just right that I completely forgot to add the salt to the crumb topping. I pulled them out of the oven, proud as punch, only to take a bite and realize that critical salty edge was missing. My husband, bless his heart, said they were still good, but I knew. That small omission made all the difference! It taught me that sometimes, the tiniest detail is what makes a recipe sing, especially with Irresistible Salted Caramel Apple Bars for Fall.

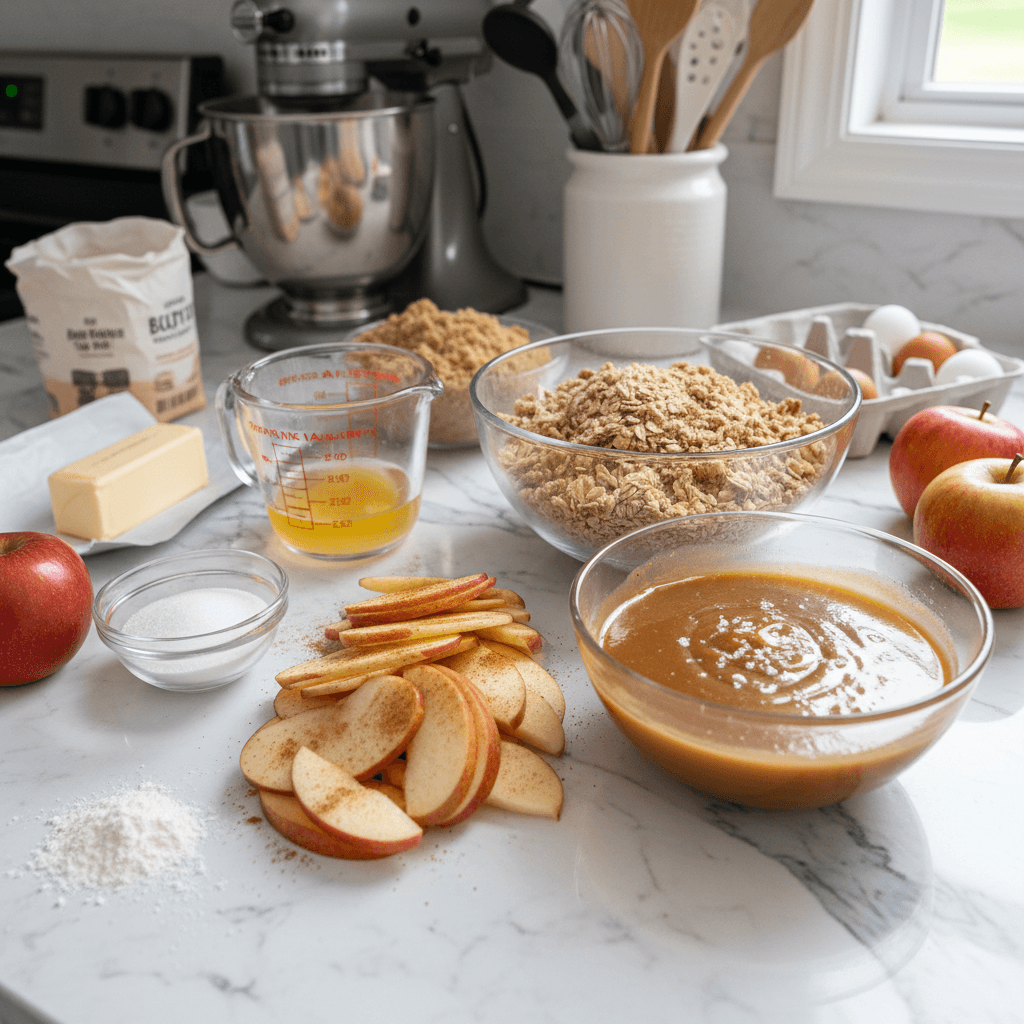
Ingredients
- All-Purpose Flour: This is the backbone of our crust and topping. I’ve tried whole wheat once, and it was a bit too dense, honestly. Stick with AP for that classic tender crumb.
- Granulated Sugar & Brown Sugar: A mix gives the perfect sweetness and a little chewiness to the crust and topping. Brown sugar adds a deeper, molasses-y note I just love.
- Unsalted Butter: Make sure it’s cold for the crust, like, really cold. I once used slightly softened butter, and the crust was just… sad. Use good quality, it makes a difference.
- Baking Powder & Salt: For lift and to balance out all that sweetness. Don’t skip the salt, even in a sweet dish, it really enhances the flavors.
- Apples: Granny Smith are my go-to for these Irresistible Salted Caramel Apple Bars for Fall. Their tartness cuts through the caramel beautifully. I’ve tried Gala, and they get too mushy, just a heads-up.
- Salted Caramel Sauce: You can make your own (I’ve got a recipe for that, maybe another time!) or use a good store-bought one. Just make sure it’s thick and rich. I tried a thin one once, and it just soaked into the crust too much.
- Cinnamon & Nutmeg: These spices are fall in a nutshell. Use fresh ground cinnamon if you can, it’s a game-changer. Just a whisper of nutmeg is all you need.
- Vanilla Extract: Pure vanilla, please! It adds a warmth that rounds out the flavors. I ran out once and tried to skip it, and it just wasn’t the same.
- Flaky Sea Salt: This is NON-NEGOTIABLE for Irresistible Salted Caramel Apple Bars for Fall. That little sprinkle on top makes the caramel sing. I forgot it once, and it was a huge mistake.
Instructions
- Crust & Crumb Prep:
- First, preheat your oven to 375°F (190°C) and line a 9×13 inch baking pan with parchment paper, leaving an overhang on the sides trust me, you’ll thank yourself later for the easy lift-out. In a large bowl, whisk together 1 ½ cups flour, ½ cup granulated sugar, ¼ cup brown sugar, ½ teaspoon baking powder, and ¼ teaspoon salt. Now, cut 1 stick (½ cup) of really cold unsalted butter into small pieces and use a pastry blender or your fingertips to cut it into the dry ingredients until you have coarse crumbs. Honestly, I always get flour everywhere during this step, it’s part of the charm!
- Press & Par-Bake:
- Take about 1 ½ cups of that crumb mixture and firmly press it into the bottom of your prepared pan. This is your crust, so make it even! I almost skipped the firm press once, and the crust fell apart when I cut the bars, don’t do that. Pop it into the preheated oven for 12-15 minutes, or until it’s lightly golden. This par-baking step is key to preventing a soggy bottom, which nobody wants in their Irresistible Salted Caramel Apple Bars for Fall. While that’s baking, set aside the remaining crumb mixture for later.
- Apple Filling Fun:
- While your crust is doing its thing, peel, core, and thinly slice 5-6 medium apples. I like them about ¼-inch thick, but if you like a chunkier bite, go for it! In a separate large bowl, toss the sliced apples with 2 tablespoons all-purpose flour, 1 tablespoon granulated sugar, 1 teaspoon cinnamon, and ¼ teaspoon nutmeg. The aroma starts to build here, a lovely warm spice smell. The flour helps absorb some of the apple juices, preventing a watery filling, which I learned the hard way once.
- Layering Magic:
- Once the crust is par-baked, pull it out of the oven. Carefully arrange the seasoned apple slices evenly over the warm crust. Try to get them in a single layer if you can, but a little overlap is fine. Then, drizzle about ½ cup of your salted caramel sauce over the apples. This is where it starts looking pretty and tasting even better. I always sneak a tiny taste of the caramel here it’s a habit!
- Crumb Topping Time:
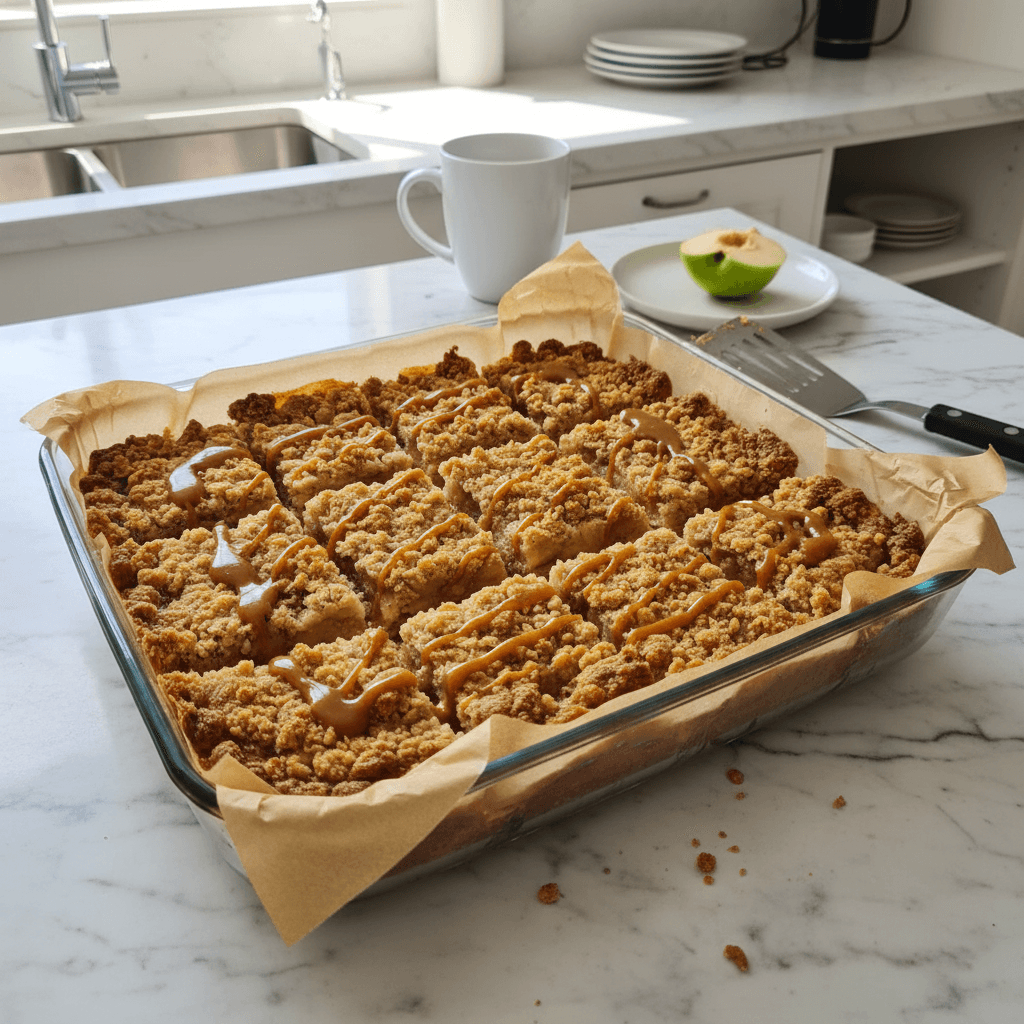
- Remember that reserved crumb mixture? Now’s its moment! Sprinkle it evenly over the caramel-drizzled apples. If you want, you can add a little extra cinnamon to the crumb mixture for an extra spice kick, I do sometimes. My kids love to help with this part, it’s messy but fun and they feel involved. Make sure to break up any big clumps so you get a nice, even sprinkle of that buttery goodness.
- Bake & Cool (The Hardest Part!):
- Return the pan to the oven and bake for another 35-45 minutes, or until the crumb topping is golden brown and the apples are tender when pierced with a fork. The edges will be bubbly, and your kitchen will smell absolutely divine. Once baked, let the Irresistible Salted Caramel Apple Bars for Fall cool completely in the pan on a wire rack. Honestly, this is the hardest part waiting! But seriously, cooling completely is crucial for clean cuts, otherwise, it’s a gooey, delicious mess, which isn’t always a bad thing, but for bars, you want structure.
One time, after a particularly chaotic baking session, I decided to take a batch of these to my neighbor, Mrs. Gable. I nearly dropped the whole pan on her porch steps! Luckily, I caught it, but a few of the precious Irresistible Salted Caramel Apple Bars for Fall slid around. She just laughed and said they looked “perfectly homemade.” That’s the beauty of baking, isn’t it? Even the little imperfections tell a story.
Storage Tips
Once your Irresistible Salted Caramel Apple Bars for Fall are completely cool (and I mean completely, otherwise you’ll have a sticky situation), you can store them. I usually cut them into squares first, which makes grabbing one for a quick snack so much easier. Pop them into an airtight container. At room temperature, they’re generally good for 2-3 days, though honestly, they rarely last that long in my house! If you want them to last a bit longer, you can keep them in the fridge for up to a week. I microwaved one once to warm it up, and the caramel got a little too runny so don’t do that lol. A gentle rewarm in a low oven (around 250°F) for 5-10 minutes works much better if you want that fresh-baked warmth.
Irresistible Salted Caramel Apple Bars: Swapping Ingredients
I’ve definitely played around with substitutions for these Irresistible Salted Caramel Apple Bars for Fall. For the apples, if you can’t find Granny Smiths, a mix of Honeycrisp and Braeburn works well to get that sweet-tart balance. I tried using all Red Delicious once, and it was just too sweet and mushy for my liking, so be mindful of apple varieties! If you’re out of brown sugar for the topping, you can use all granulated sugar, but you’ll lose a little of that deep, caramel-y flavor. For a gluten-free version, I’ve had decent luck with a 1:1 gluten-free baking flour blend for both the crust and topping. The texture is a bit different, a little less tender, but it works! And for the caramel sauce, if you’re feeling adventurous, you can make a bourbon caramel for an extra kick I tried that for a grown-up dinner party, and it was a hit!
Serving Suggestions
These Irresistible Salted Caramel Apple Bars for Fall are pretty spectacular on their own, but I do have some favorite ways to serve them. A warm bar with a scoop of vanilla bean ice cream melting over it? Oh my goodness, yes please. The contrast of hot and cold, creamy and chewy, is just divine. They’re also fantastic with a strong cup of coffee or a mug of hot apple cider on a chilly afternoon. For a more elegant presentation, I sometimes dust them with a tiny bit of powdered sugar, but honestly, the flaky sea salt is the real star here. They’re perfect for a casual dessert after a family meal, or even packed in a lunchbox for a sweet treat that feels like a hug from home.
A Little Backstory on Apple Bars
Apple bars, in their many forms, have a long, comforting history, often linked to harvest seasons and the abundance of fresh apples. This particular iteration, featuring salted caramel, feels like a modern twist on a classic. For me, it connects to memories of visiting apple orchards with my grandparents when I was little. We’d come home with bushels of apples, and my grandma would always bake something wonderful. While she never made Irresistible Salted Caramel Apple Bars for Fall exactly, her apple crisps and pies instilled in me that deep appreciation for baking with seasonal produce. This recipe, with its familiar flavors and straightforward approach, feels like carrying on that tradition, but with my own little salty-sweet flourish. It’s about taking those old, cherished feelings and making them new again in my own kitchen.
Honestly, every time I pull these Irresistible Salted Caramel Apple Bars for Fall from the oven, my heart just feels a little fuller. The way the kitchen fills with that sweet, spicy scent, the golden glow of the topping, the promise of that gooey apple-caramel center… it’s pure magic. They’re not just a dessert, they’re a little piece of fall comfort that I love sharing. I hope you give them a try and make some happy, delicious memories in your own kitchen!
Frequently Asked Questions
- → Choosing Apples for Your Salted Caramel Apple Bars?
I always lean towards a tart, firm apple like Granny Smith for these Irresistible Salted Caramel Apple Bars for Fall. They hold their shape and their tartness balances the sweet caramel. I tried using a softer apple once, and it just turned to mush, which wasn’t quite what I was going for, you know?
- → Homemade Caramel for Apple Bars?
You absolutely can! While I sometimes use store-bought for convenience, making your own salted caramel sauce from scratch is so rewarding. Just be super careful, hot sugar is no joke! It really elevates the flavor in these Irresistible Salted Caramel Apple Bars for Fall. I once almost burned a batch, oops!
- → Preventing Soggy Crust in Salted Caramel Apple Bars?
The key here is par-baking the crust! Don’t skip that step. It creates a barrier that prevents the apple juices and caramel from making your crust soggy. I learned this the hard way after a few less-than-crispy attempts with my Irresistible Salted Caramel Apple Bars for Fall.
- → Storing Irresistible Salted Caramel Apple Bars?
Once cooled, keep them in an airtight container at room temperature for a couple of days, or in the fridge for up to a week. I find they’re best within the first few days, honestly. I’ve tried freezing them once, and the texture wasn’t quite the same after thawing, so I don’t usually recommend that.
- → Can You Prep Salted Caramel Apple Bars Ahead?
You can definitely prep some components! You can make the crumb mixture and store it in the fridge for a day or two. The apples can be sliced and tossed with lemon juice (to prevent browning) a few hours ahead. But for the best results, assemble and bake these Irresistible Salted Caramel Apple Bars for Fall on the same day.

Irresistible Salted Caramel Apple Bars for Fall
- Prep Time: 30 Minutes
- Cook Time: 60 Minutes
- Total Time: 90 Minutes
- Yield: 12 Servings 1x
- Category: Home
Description
Irresistible Salted Caramel Apple Bars for Fall bring warmth to your kitchen. Discover my personal recipe for these delightful, sweet-tart autumn treats.
Ingredients
- Crust & Crumb Topping:
- 2 cups all-purpose flour, divided
- ¾ cup granulated sugar, divided
- ½ cup packed light brown sugar, divided
- 1 cup (2 sticks) unsalted butter, very cold, cut into pieces, divided
- ½ teaspoon baking powder
- ¼ teaspoon salt
- Apple & Caramel Goodness:
- 5–6 medium Granny Smith apples (about 2 lbs), peeled, cored, and thinly sliced
- ½ cup good quality salted caramel sauce, plus more for drizzling (optional)
- Flavor Enhancers:
- 1 teaspoon ground cinnamon
- ¼ teaspoon ground nutmeg
- 1 teaspoon pure vanilla extract
- Finishing Touches:
- 1 teaspoon flaky sea salt, for sprinkling
Instructions
- Crust & Crumb Prep:: First, preheat your oven to 375°F (190°C) and line a 9×13 inch baking pan with parchment paper, leaving an overhang on the sides – trust me, you’ll thank yourself later for the easy lift-out. In a large bowl, whisk together 1 ½ cups flour, ½ cup granulated sugar, ¼ cup brown sugar, ½ teaspoon baking powder, and ¼ teaspoon salt. Now, cut 1 stick (½ cup) of really cold unsalted butter into small pieces and use a pastry blender or your fingertips to cut it into the dry ingredients until you have coarse crumbs. Honestly, I always get flour everywhere during this step, it’s part of the charm!
- Press & Par-Bake:: Take about 1 ½ cups of that crumb mixture and firmly press it into the bottom of your prepared pan. This is your crust, so make it even! I almost skipped the firm press once, and the crust fell apart when I cut the bars, don’t do that. Pop it into the preheated oven for 12-15 minutes, or until it’s lightly golden. This par-baking step is key to preventing a soggy bottom, which nobody wants in their Irresistible Salted Caramel Apple Bars for Fall. While that’s baking, set aside the remaining crumb mixture for later.
- Apple Filling Fun:: While your crust is doing its thing, peel, core, and thinly slice 5-6 medium apples. I like them about ¼-inch thick, but if you like a chunkier bite, go for it! In a separate large bowl, toss the sliced apples with 2 tablespoons all-purpose flour, 1 tablespoon granulated sugar, 1 teaspoon cinnamon, and ¼ teaspoon nutmeg. The aroma starts to build here, a lovely warm spice smell. The flour helps absorb some of the apple juices, preventing a watery filling, which I learned the hard way once.
- Layering Magic:: Once the crust is par-baked, pull it out of the oven. Carefully arrange the seasoned apple slices evenly over the warm crust. Try to get them in a single layer if you can, but a little overlap is fine. Then, drizzle about ½ cup of your salted caramel sauce over the apples. This is where it starts looking pretty and tasting even better. I always sneak a tiny taste of the caramel here – it’s a habit!
- Crumb Topping Time:: Remember that reserved crumb mixture? Now’s its moment! Sprinkle it evenly over the caramel-drizzled apples. If you want, you can add a little extra cinnamon to the crumb mixture for an extra spice kick, I do sometimes. My kids love to help with this part, it’s messy but fun and they feel involved. Make sure to break up any big clumps so you get a nice, even sprinkle of that buttery goodness.
- Bake & Cool (The Hardest Part!):: Return the pan to the oven and bake for another 35-45 minutes, or until the crumb topping is golden brown and the apples are tender when pierced with a fork. The edges will be bubbly, and your kitchen will smell absolutely divine. Once baked, let the Irresistible Salted Caramel Apple Bars for Fall cool completely in the pan on a wire rack. Honestly, this is the hardest part – waiting! But seriously, cooling completely is crucial for clean cuts, otherwise, it’s a gooey, delicious mess, which isn’t always a bad thing, but for bars, you want structure.


