
Introduction to Chocolate & Peanut Butter Dream Roll
When I first discovered the magic of the Chocolate & Peanut Butter Dream Roll, it felt like a sweet awakening in my kitchen. Picture this: one hectic afternoon, I was racing against the clock, juggling work calls and preparing a treat for my kids. That’s when this delectable recipe came to mind. Whether you’re juggling work calls or soccer practice, the Chocolate & Peanut Butter Dream Roll is your new best friend. It combines the rich allure of chocolate with the creamy, nutty goodness of peanut butter, creating a dessert that’s both indulgent and satisfying.
This delightful roll not only pleases the palate but also brings back fond memories of family gatherings and dessert tables overflowing with treats. With its velvety texture and a excellent balance of flavors, it’s an ideal centerpiece for any occasion, from birthdays to casual get-togethers. If you’re looking for a recipe that’s as fun to make as it is to eat, the Chocolate & Peanut Butter Dream Roll is calling your name. Let’s dive into this dreamy creation that promises to elevate your dessert game!

Why You’ll Love This Chocolate & Peanut Butter Dream Roll
Picture this: You’ve had a long day, and all you want is a tasty dessert that’ll make your troubles melt away. The Chocolate & Peanut Butter Dream Roll is like a cozy blanket for your taste buds, wrapping you in layers of rich chocolate and creamy peanut butter. Whether you’re juggling work calls or soccer practice, this recipe is your new best friend. No more 6 PM panic-dinner’s ready faster than a microwave meal, giving you more time to relax.
Not only does it save time, but it also delivers a taste experience that feels indulgent without the fuss. Imagine cutting into this roll and seeing that luscious swirl of chocolate and peanut butter. The combination hits all the right notes, satisfying your sweet tooth while also feeling like a special treat. Plus, it’s a crowd-pleaser, making it excellent for family gatherings or a quiet evening at home. Once you try this delightful roll, you’ll wonder how you ever lived without it!
Ingredients for Chocolate & Peanut Butter Dream Roll
As a child, I would eagerly await the moments when my mom would whip up a treat that combined chocolate and peanut butter. Those flavors are a excellent match, and they’ve inspired this Chocolate & Peanut Butter Dream Roll. Whether you’re juggling work calls or soccer practice, this recipe is your new best friend. Let’s dive into the essential ingredients that will make your dessert dreams come true!
- Chocolate Cake Mix: The foundation of your roll, this mix brings in that rich chocolatey flavor. Opt for a brand you love-your taste buds deserve it!
- Eggs: These little wonders bind everything together and give the roll its structure. Fresh eggs are always best for that fluffy texture.
- Water: Simple yet crucial, water helps to activate the cake mix and keep it moist. Use room temperature water for optimal mixing.
- Peanut Butter: The star of the show! Choose creamy or crunchy based on your preference; both will create a delightful filling. It adds that irresistible nutty flavor.
- Powdered Sugar: For sweetness and to help create a smooth, creamy filling. It blends seamlessly with the peanut butter.
- Vanilla Extract: A splash of this golden liquid elevates the flavor of your filling, rounding out the sweetness perfectly.
- Cocoa Powder: Want an extra chocolatey punch? Mix in some cocoa powder with the peanut butter filling. It’s a tasty twist!
- Nutella: For those who can’t get enough chocolate, a layer of Nutella can be spread along with the peanut butter. Your taste buds will thank you!
- Chopped Nuts: Add a little crunch with some chopped peanuts or walnuts if you love texture in your desserts. No judgment here!
Finally, if you’re looking for gluten-free options, consider using a gluten-free chocolate cake mix. This Chocolate & Peanut Butter Dream Roll is versatile and can easily adapt to fit your dietary preferences. So gather your ingredients, and let’s get ready to create a dessert that’s sure to impress!
How to Make Chocolate & Peanut Butter Dream Roll
The first time I made the Chocolate & Peanut Butter Dream Roll, it was an experiment that quickly turned into a family favorite. Imagine the excitement of unrolling a chocolate cake to reveal a luscious peanut butter filling, all while the kids hovered around the kitchen, waiting for a taste. Whether you’re juggling work calls or soccer practice, this recipe is your new best friend, delivering indulgence with every slice. Let’s dive into the steps to create this delightful dessert!
- Step 1: Bake the Chocolate Cake
Preheat your oven to 350°F (175°C). Prepare a jelly roll pan by greasing it and lining it with parchment paper. This ensures your cake rolls out smoothly. In a bowl, mix together the flour, cocoa powder, baking powder, and salt. In another bowl, beat the eggs and sugar until light and fluffy, then gently fold in the dry ingredients. Pour the batter into the prepared pan and spread it evenly. Bake for about 12-15 minutes, or until a toothpick inserted in the center comes out clean. While it bakes, get ready for the next steps!
- Step 2: Prepare the Peanut Butter Filling
While the cake cools, mix the creamy peanut butter, powdered sugar, and softened cream cheese in a bowl. Use an electric mixer to whip it until it’s smooth and fluffy. The filling should be thick yet spreadable, resembling a luscious peanut butter mousse. If you like it sweeter, feel free to adjust the sugar to your taste. This filling is the real star of the show!
- Step 3: Roll it Up
Once the cake is out of the oven and cool enough to handle, carefully flip it onto a clean kitchen towel dusted with powdered sugar. Gently peel off the parchment paper. Spread the peanut butter filling evenly over the cake, leaving a small border around the edges. Now, it’s time to roll it up! Starting from one end, use the towel to help you roll the cake tightly. Don’t worry if it cracks a little; it’ll still taste amazing! Wrap the rolled cake in plastic wrap and refrigerate for at least 30 minutes to set.
- Step 4: Melt the Chocolate for the Glaze
For the finishing touch, melt the chocolate chips in a microwave-safe bowl, stirring every 15 seconds until smooth. Once the roll has chilled, take it out of the fridge and unwrap it. Place it on a serving platter. Drizzle the melted chocolate over the top, letting it cascade down the sides. This chocolate glaze adds an irresistible shine and enhances the overall flavor of the Chocolate & Peanut Butter Dream Roll!
- Step 5: Slice and Serve
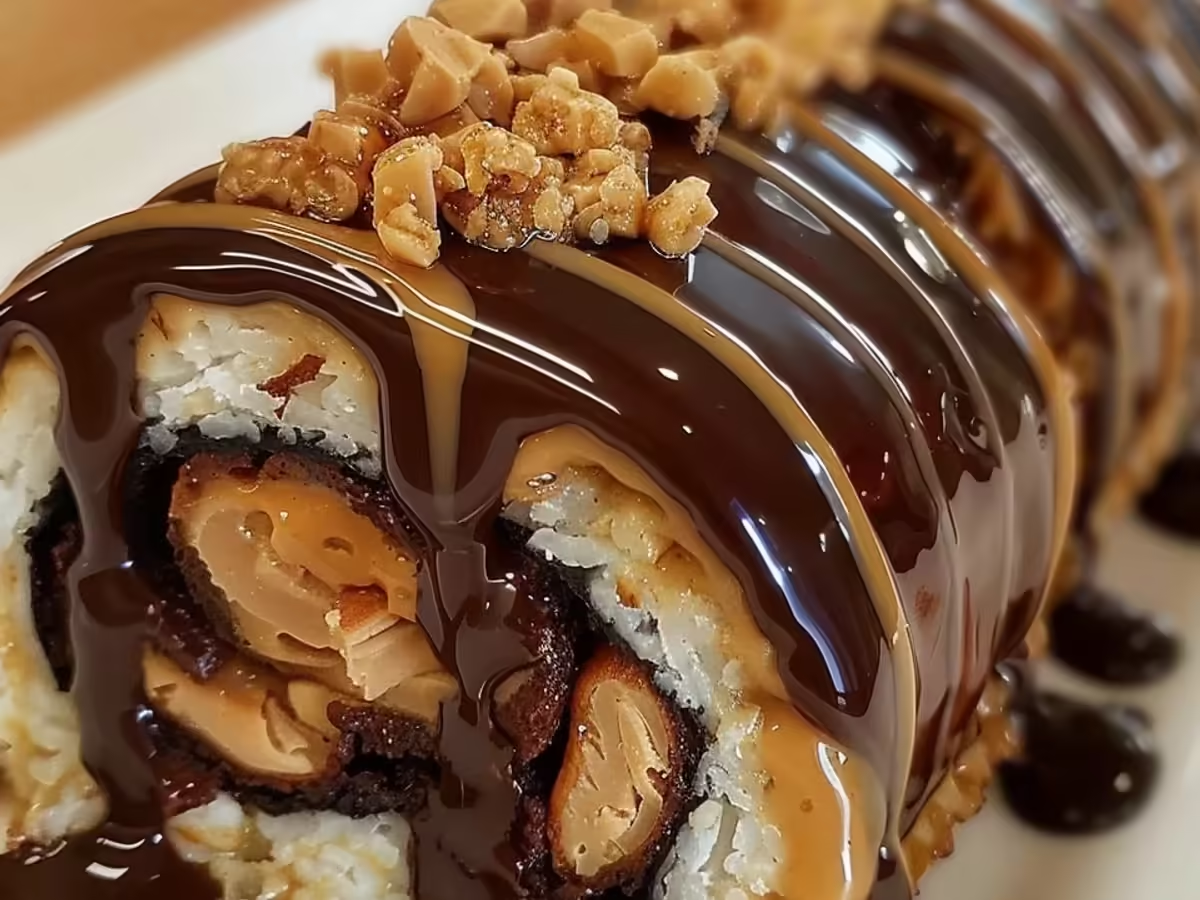
After the glaze has set a bit, it’s time to slice your masterpiece. Use a sharp knife to cut the roll into generous portions. Each slice reveals the beautiful swirls of chocolate cake and creamy peanut butter filling. Serve it up with a dollop of whipped cream or a sprinkle of crushed peanuts for added texture. Enjoy this delightful treat with family and friends!
And there you have it-the steps to make your own Chocolate & Peanut Butter Dream Roll! With its rich flavors and beautiful presentation, this dessert will surely impress anyone who tries it. Happy baking!
Tips for Success
Creating the excellent Chocolate & Peanut Butter Dream Roll can be a delightful experience, especially when you have some insider tips up your sleeve. Whether you’re a baking novice or a seasoned pro, these practical suggestions will help ensure your roll is as dreamy as it sounds. Remember, even the most skilled bakers encounter obstacles, but with these tips, you’ll be well on your way to a excellent dessert.
- Chill Your Ingredients: For a rich and creamy filling, make sure your peanut butter and cream cheese are at room temperature. This will allow them to blend seamlessly, creating a smooth texture.
- Don’t Rush the Cooling: After baking, let your cake cool completely before rolling. If you rush this step, your roll may crack, ruining that beautiful presentation.
- Use Parchment Paper: Line your baking pan with parchment paper to prevent sticking. This will make it easier to lift your cake out, ensuring a excellent roll.
- Rolling Technique: When rolling your Chocolate & Peanut Butter Dream Roll, start from one end and roll tightly, but not too tight. A gentle hand will yield the best results.
- Decorate with Flair: For an extra touch, drizzle melted chocolate and sprinkle crushed peanuts on top before serving. This will elevate the dessert visually and flavor-wise!
- Make Ahead: This dessert can be made a day in advance. Just keep it covered in the refrigerator to maintain freshness. It’s a excellent make-ahead treat for special occasions!
Equipment Needed
Creating a delightful Chocolate & Peanut Butter Dream Roll doesn’t require a kitchen full of gadgets. In fact, you can whip up this tasty dessert with just a few essential tools. Here’s what you’ll need:
- Mixing Bowls: A couple of medium-sized bowls will do. They are excellent for combining ingredients without making a mess.
- Whisk or Electric Mixer: Whether you prefer the classic whisk or the ease of an electric mixer, both will help you achieve a fluffy filling.
- Baking Sheet: A standard rimmed baking sheet is essential for baking the cake roll evenly.
- Parchment Paper: Line your baking sheet with parchment to prevent sticking-it’s a game-changer!
- Rubber Spatula: This handy tool helps fold ingredients gently, ensuring that your chocolate and peanut butter mixture stays airy.
- Cooling Rack: Allow your roll to cool properly; this step is crucial for the excellent texture.
With these simple tools, you’ll be well on your way to creating the Chocolate & Peanut Butter Dream Roll of your dreams!
Variations
The Chocolate & Peanut Butter Dream Roll is a dessert that invites creativity. Whether you want to cater to dietary preferences or embrace seasonal ingredients, there are endless ways to make this sweet delight your own. Here are some tasty variations to consider:
- Dietary-Friendly Tweaks: For a healthier alternative, swap the traditional cream cheese filling with a dairy-free cream made from cashews or silken tofu. This way, your dessert is not only creamy but also friendly for your lactose-intolerant friends!
- Nut-Free Option: If nuts are off the table, substitute peanut butter with sunflower seed butter. It offers a similar texture and flavor profile, ensuring everyone can enjoy the Chocolate & Peanut Butter Dream Roll without worry.
- Seasonal Twists: Embrace the changing seasons by adding fresh fruit to your filling. In spring and summer, strawberries or raspberries can provide a refreshing burst of flavor, while in fall, consider incorporating apple or pumpkin spice for a cozy, festive touch.
- Flavor Infusions: Get adventurous by mixing in different extracts. A splash of almond or vanilla extract can elevate the flavors in your Chocolate & Peanut Butter Dream Roll, adding a delightful depth that will surprise your taste buds.
- Chocolate Lovers’ Delight: For an extra chocolate kick, fold mini chocolate chips into the filling or drizzle melted chocolate over the top before serving. This variation is sure to satisfy even the most devoted chocoholics.
- Gluten-Free Version: If you’re avoiding gluten, just substitute regular flour with a gluten-free blend. It’s an easy swap that ensures everyone can enjoy in this delightful treat without compromising flavor.
With these variations, your Chocolate & Peanut Butter Dream Roll can easily adapt to fit any occasion or dietary need. So go ahead, get creative, and make this dessert uniquely yours!
Print
Chocolate & Peanut Butter Dream Roll: treat yourself to Today!
- Prep Time: 20 minutes
- Cook Time: 15 minutes
- Total Time: 1 hour 35 minutes
- Yield: 8 servings 1x
- Category: Dessert
- Cuisine: American
Description
A decadent dessert roll filled with rich chocolate and creamy peanut butter, perfect for any special occasion.
Ingredients
- 1 cup all-purpose flour
- 1/2 cup unsweetened cocoa powder
- 1 tsp baking powder
- 1/2 tsp salt
- 4 large eggs
- 1 cup granulated sugar
- 1/4 cup melted butter
- 1 cup creamy peanut butter
- 1 cup powdered sugar
- 1/2 cup heavy cream
- 1 tsp vanilla extract
- Chocolate shavings for garnish
Instructions
- Preheat the oven to 350°F (175°C) and grease a baking sheet.
- In a bowl, mix together flour, cocoa powder, baking powder, and salt.
- In another bowl, beat eggs and sugar until light and fluffy.
- Gradually add dry ingredients to the egg mixture, followed by melted butter.
- Spread the batter evenly on the prepared baking sheet.
- Bake for 12-15 minutes or until the cake springs back when touched.
- Once baked, let it cool slightly, then invert onto a clean kitchen towel dusted with powdered sugar.
- Spread peanut butter evenly over the cake.
- Roll the cake tightly using the towel to help shape it.
- Chill in the refrigerator for at least 1 hour before slicing.
- Whip heavy cream and vanilla extract until soft peaks form and top the rolled cake.
- Garnish with chocolate shavings before serving.
Notes
- Ensure the cake is completely cool before rolling to avoid cracking.
- Can substitute creamy peanut butter with crunchy for added texture.
- Store leftovers in an airtight container in the refrigerator.
Nutrition
- Serving Size: 1 slice
- Calories: 250
- Sugar: 20g
- Sodium: 150mg
- Fat: 12g
- Saturated Fat: 5g
- Carbohydrates: 30g
- Fiber: 2g
- Protein: 6g
- Cholesterol: 40mg


