

I remember the first time I stumbled upon the idea of a dump cake. It was one of those frantic Tuesday evenings, the kind where you promise dessert but have absolutely zero energy for anything complicated. My grandma used to talk about ‘throwing things together’ for a quick treat, and honestly, the concept of just… dumping ingredients in a pan felt like pure magic. I was skeptical, though. Could something so simple actually taste good? The kitchen was a bit of a mess already, so what was one more experiment? This Canned Peach Dump Cake became my secret weapon, a warm, bubbly hug in a dish.
One time, I got a little too excited and dumped everything in before realizing I’d forgotten to melt the butter. Oops! Ended up with a slightly crunchy, uneven top layer. It still tasted good, mind you, but taught me a valuable lesson about reading the whole recipe first. My kids still tease me about “Mom’s crunchy cake.” Hey, it was still a Canned Peach Dump Cake, just a unique one!

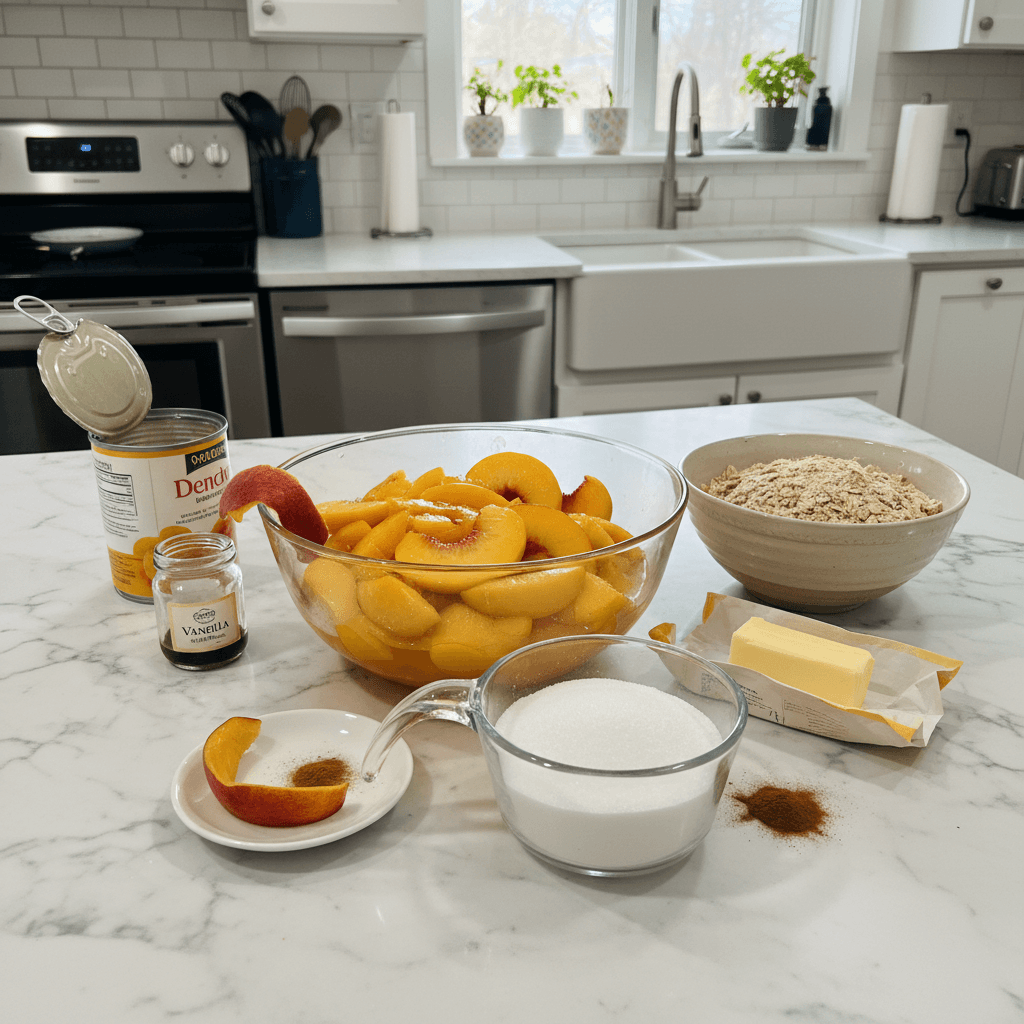
Ingredients
- Canned Sliced Peaches: These are the heart of our Canned Peach Dump Cake! I usually grab the peaches in light syrup, drained, because too much liquid can make things soggy. Don’t use fresh here, the canned ones just hold up better to the baking and create that jammy texture we want.
- Yellow Cake Mix: Any standard boxed yellow cake mix works wonders here. I’ve tried fancy ones, but a basic Betty Crocker or Duncan Hines does the trick. Don’t use a ‘pudding in the mix’ variety, it can change the texture. This is our crust and topping all in one, so it matters!
- Unsalted Butter: Melted butter is key to getting that crispy, golden topping. I always use unsalted so I can control the salt level myself. Honestly, don’t skimp here, it’s what binds the cake mix and caramelizes everything.
- Ground Cinnamon: A little sprinkle of cinnamon just wakes up those peach flavors. It’s not essential, but it adds a warm, inviting spice that makes a huge difference. I always add a bit more than the recipe calls for, because I love that extra warmth.
- Brown Sugar: Just a touch of brown sugar over the top adds a lovely, deep sweetness and helps with that golden-brown crust. It’s optional, but I think it really elevates the flavor, giving it a little extra something special.
- Vanilla Extract: A splash of good quality vanilla extract always rounds out the sweetness. It’s like a secret ingredient that makes everything taste a bit more ‘homemade.’ I once forgot it, and the cake felt like it was missing a little something.
Instructions
- Prep Your Pan:
- First things first, grab a 9×13 inch baking dish. I usually give mine a light spray with some non-stick cooking spray, just to make sure nothing sticks. You want a good, even coating, especially in the corners. This step seems simple, but trust me, it saves a lot of heartache later when you’re trying to scoop out those delicious, sticky pieces. It’s a small thing, but it makes a big difference for easy serving and cleanup, which is always a win in my book.
- Add Your Peaches:
- Next, open up those cans of sliced peaches. Make sure to drain them really well, we don’t want excess liquid making our Canned Peach Dump Cake soggy! Spread the drained peaches evenly across the bottom of your prepared baking dish. You want a nice, single layer covering the whole bottom. Sometimes I arrange them a little, but mostly I just dump them in. This is our fruity base, so make sure it’s spread out nicely for even peach-to-cake distribution.
- Sprinkle the Cake Mix:
- Now for the ‘dump’ part! Open your box of yellow cake mix and sprinkle it evenly over the peaches. Try to get it into all the corners and edges, covering the fruit completely. Don’t press it down, just let it sit lightly on top. This is where the magic happens, this dry mix will absorb all those peachy juices and melted butter, transforming into a tender, cakey crust. It might look a little weird right now, but trust the process!
- Dot with Butter & Spice:
- Next, pour your melted butter evenly over the dry cake mix. I usually drizzle it in a zigzag pattern to make sure it gets everywhere. Then, sprinkle that lovely ground cinnamon and brown sugar over the top. The butter is crucial, it helps the cake mix become a crust, and the cinnamon and sugar add so much flavor. This is where you start to smell the warmth of what’s to come, a truly comforting aroma filling the kitchen.
- Bake the Canned Peach Dump Cake:
- Pop your dish into a preheated oven at 350°F (175°C) and let it bake for about 45-55 minutes. You’re looking for a beautiful golden-brown top and bubbling peaches around the edges. Every oven is a little different, so keep an eye on it. The first time I made this, I pulled it out too early and the top was a bit pale. A few extra minutes made all the difference! The whole house will smell incredible, trust me.
- Cool and Serve:
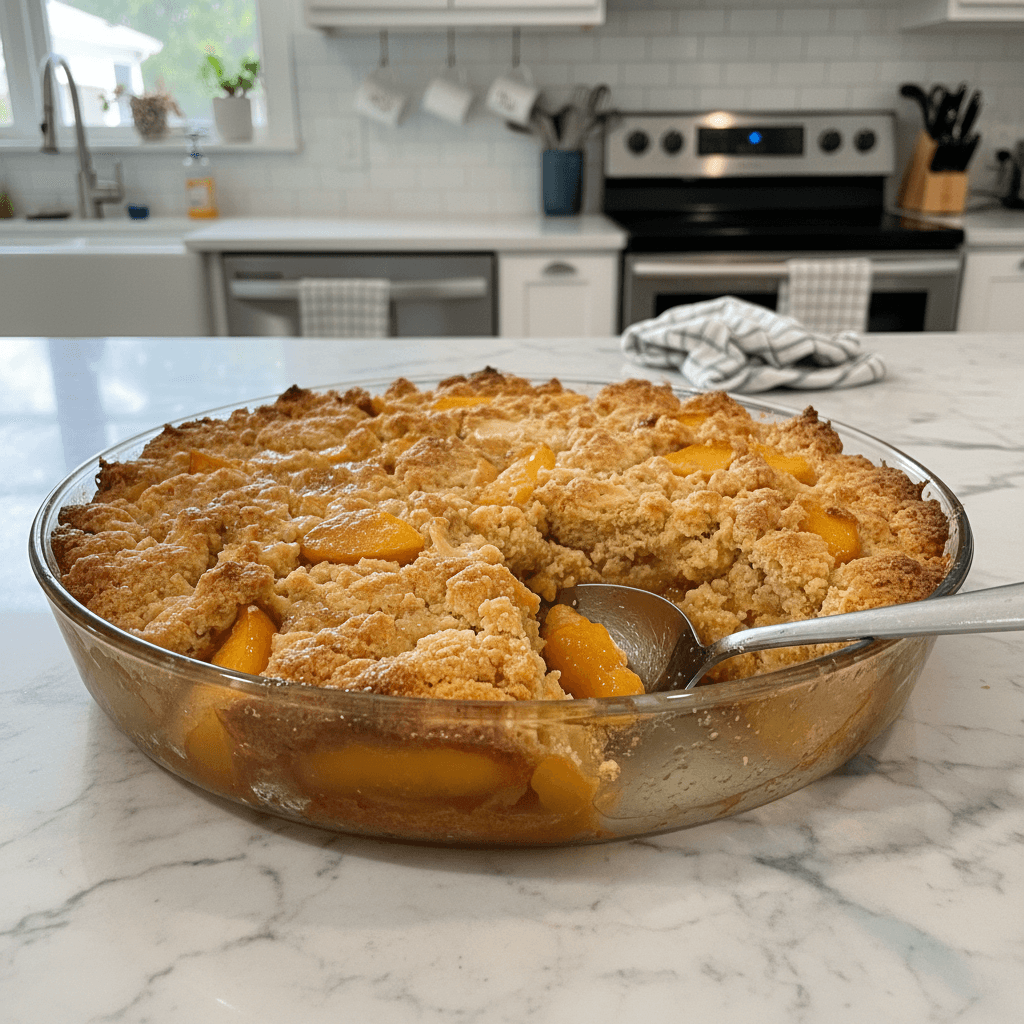
- Once it’s golden and bubbly, carefully pull your Canned Peach Dump Cake out of the oven. It’s going to be hot, hot, hot! Let it cool on a wire rack for at least 10-15 minutes before serving. This cooling time allows the juices to settle and thickens up the peachy goodness. It’s hard to wait, I know! But it’s worth it for that perfect scoop. The top will be slightly crisp, and the peaches underneath will be wonderfully soft and sweet.
Honestly, sometimes the best recipes come from the messiest kitchens. This Canned Peach Dump Cake has seen its fair share of spilled cake mix and sticky counters in my house. But every single time, watching it bubble away, filling the air with that sweet, warm peach scent, it just brings a smile. It’s the kind of simple magic that makes a regular Tuesday feel like a special occasion, even if I’m still finding cake mix dust bunnies a week later.
Storage Tips for Your Canned Peach Dump Cake
Storing leftover Canned Peach Dump Cake is pretty straightforward, thankfully. I usually just cover the baking dish tightly with foil or plastic wrap once it’s completely cooled. Don’t try to store it warm, you’ll get condensation, and nobody wants a soggy cake top. I keep it on the counter for a day or two, but after that, into the fridge it goes for up to 4-5 days. Reheating? Pop a slice in the microwave for 30 seconds or warm it in a low oven. I microwaved it once and the sauce separated a bit, so don’t do that if you’re aiming for presentation lol. It still tastes delicious, just looks a little less ‘fresh out of the oven’.
Canned Peach Dump Cake Ingredient Substitutions
When it comes to making your Canned Peach Dump Cake, don’t be afraid to play around! I’ve tried swapping out the yellow cake mix for a spice cake mix, which gives it a lovely, warmer flavor, especially in the fall. It worked beautifully! For the peaches, if you don’t have canned, frozen peaches (thawed and drained) work in a pinch, though the texture can be a bit softer. I once tried apple pie filling, and it became an Apple Dump Cake, which was a hit, but not quite the same peachy vibe. You can also experiment with different fruits cherry, blueberry, even pineapple. Just remember, the liquid content might change, so keep an eye on it during baking. It’s all about finding what you love in your Canned Peach Dump Cake.
Serving Your Canned Peach Dump Cake
Serving your warm Canned Peach Dump Cake is where the real fun begins! My absolute favorite way to enjoy it is with a generous scoop of vanilla bean ice cream the cold, creamy sweetness against the warm, fruity cake? Chef’s kiss! A dollop of fresh whipped cream is also a winner, adding a light, airy touch. Sometimes, for a little extra something, I’ll sprinkle a tiny pinch of cinnamon on top of the whipped cream. This dish and a cozy blanket with a good book? Yes please. It’s also fantastic with a strong cup of coffee in the morning (don’t judge my dessert-for-breakfast habits!). It’s versatile enough for a casual family dinner or a relaxed gathering with friends, always bringing that comforting, homey feel.
Cultural Backstory
The ‘dump cake’ concept has roots in American mid-century cooking, a time when convenience foods and quick fixes were becoming popular in home kitchens. It was all about getting a delicious dessert on the table with minimal fuss, often relying on pantry staples like canned fruit and boxed cake mix. For me, discovering the Canned Peach Dump Cake wasn’t a historical deep dive, but more of a revelation in simplicity. It reminds me of my grandmother’s resourcefulness, making something wonderful out of what was on hand. It’s not fancy, it’s not gourmet, but it embodies that practical, comforting spirit of home baking that just feels good. It’s a testament to how sometimes, the simplest things are the most satisfying, especially when you need a little sweet escape.
Honestly, this Canned Peach Dump Cake has become a staple in my kitchen, a little beacon of warmth and easy deliciousness. It’s seen me through hurried weeknights and relaxed Sunday afternoons, always delivering that comforting, sweet satisfaction. There’s something truly special about a dessert that asks for so little but gives so much. I hope you give this simple, delightful recipe a try and let it bring a little bit of that fuss-free joy into your home. Don’t forget to tell me how your Canned Peach Dump Cake turns out!
Frequently Asked Questions
- → Why is it called “dump cake”?
It’s called a dump cake because you literally just ‘dump’ all the ingredients into a baking dish without any mixing. It’s a super simple, no-fuss method that makes baking feel effortless. I always chuckle when I tell people how easy it is!
- → Can I use fresh peaches for Canned Peach Dump Cake?
While you can use fresh peaches, I personally find canned peaches work better for this Canned Peach Dump Cake. They release more juice, creating that lovely, saucy bottom. Fresh peaches can sometimes dry out too much or not create enough liquid.
- → What if my Canned Peach Dump Cake is too dry?
If your Canned Peach Dump Cake turns out dry, you might not have used enough butter, or your peaches weren’t juicy enough. Next time, try adding a splash of milk or a bit more melted butter over the cake mix before baking. I once forgot some butter, and it was a crunchy mistake!
- → Question about storage or leftovers?
Leftovers are great! Just cover the dish tightly with foil or plastic wrap and store at room temperature for a day, or in the fridge for up to 4-5 days. It reheats well in the microwave or a low oven, though the top might lose a little crispness.
- → Can I add other fruits to my Canned Peach Dump Cake?
Absolutely! I’ve experimented with cherries, blueberries, and even pineapple. Just make sure to drain them well, like with the peaches. Mixing a little raspberry in with the peaches for a Canned Peach Dump Cake is also a delicious twist I tried once!
Sweet Canned Peach Dump Cake for Easy Dessert Nights
- Prep Time: 10 Minutes
- Cook Time: 50 Minutes
- Total Time: 60 Minutes
- Yield: 8 Servings 1x
- Category: Dinner
Description
Sweet Canned Peach Dump Cake is a simple dessert, perfect for busy nights. Just dump, bake, and enjoy this warm, fruity treat with a buttery crust. So easy!
Ingredients
- Fruity Base:
- 2 (15-ounce) cans sliced peaches, in light syrup, drained (about 3 cups fruit)
- 1 teaspoon vanilla extract
- Dry Mix Goodness:
- 1 (15.25-ounce) box yellow cake mix
- Buttery Topping:
- 1 cup (2 sticks) unsalted butter, melted
- Sweet & Spicy Extras:
- 1/2 teaspoon ground cinnamon
- 2 tablespoons light brown sugar
Instructions
- Prep Your Pan:: First things first, grab a 9×13 inch baking dish. I usually give mine a light spray with some non-stick cooking spray, just to make sure nothing sticks. You want a good, even coating, especially in the corners. This step seems simple, but trust me, it saves a lot of heartache later when you’re trying to scoop out those delicious, sticky pieces. It’s a small thing, but it makes a big difference for easy serving and cleanup, which is always a win in my book.
- Add Your Peaches:: Next, open up those cans of sliced peaches. Make sure to drain them really well; we don’t want excess liquid making our Canned Peach Dump Cake soggy! Spread the drained peaches evenly across the bottom of your prepared baking dish. You want a nice, single layer covering the whole bottom. Sometimes I arrange them a little, but mostly I just dump them in. This is our fruity base, so make sure it’s spread out nicely for even peach-to-cake distribution.
- Sprinkle the Cake Mix:: Now for the ‘dump’ part! Open your box of yellow cake mix and sprinkle it evenly over the peaches. Try to get it into all the corners and edges, covering the fruit completely. Don’t press it down, just let it sit lightly on top. This is where the magic happens; this dry mix will absorb all those peachy juices and melted butter, transforming into a tender, cakey crust. It might look a little weird right now, but trust the process!
- Dot with Butter & Spice:: Next, pour your melted butter evenly over the dry cake mix. I usually drizzle it in a zigzag pattern to make sure it gets everywhere. Then, sprinkle that lovely ground cinnamon and brown sugar over the top. The butter is crucial; it helps the cake mix become a crust, and the cinnamon and sugar add so much flavor. This is where you start to smell the warmth of what’s to come, a truly comforting aroma filling the kitchen.
- Bake the Canned Peach Dump Cake:: Pop your dish into a preheated oven at 350°F (175°C) and let it bake for about 45-55 minutes. You’re looking for a beautiful golden-brown top and bubbling peaches around the edges. Every oven is a little different, so keep an eye on it. The first time I made this, I pulled it out too early and the top was a bit pale. A few extra minutes made all the difference! The whole house will smell incredible, trust me.
- Cool and Serve:: Once it’s golden and bubbly, carefully pull your Canned Peach Dump Cake out of the oven. It’s going to be hot, hot, hot! Let it cool on a wire rack for at least 10-15 minutes before serving. This cooling time allows the juices to settle and thickens up the peachy goodness. It’s hard to wait, I know! But it’s worth it for that perfect scoop. The top will be slightly crisp, and the peaches underneath will be wonderfully soft and sweet.


