
Honestly, some flavors just transport you, don’t they? For me, it’s the smell of warm peanut butter and melting chocolate. I remember my first time trying Peanut Butter Blossoms at a school bake sale. I was maybe seven? My mom, bless her heart, had tried to make them at home once, and let’s just say the ‘blossoms’ looked more like ‘explosions.’ The chocolate kisses just… melted into puddles. We laughed, though! This recipe, however, brings back all those cozy, comforting feelings without the kitchen chaos. It’s a sweet, familiar hug in cookie form, and it always makes me think of simpler times, sticky fingers, and pure joy.
I once tried to get really fancy with these Peanut Butter Blossoms, using artisanal chocolate disks instead of the classic Hershey’s Kisses. Big mistake, hon. They just didn’t have that iconic shape, and the chocolate was too bitter for the sweet cookie. My family looked at me like I’d betrayed a sacred tradition! Sometimes, the simple way is the only way, and honestly, the little divot the Kiss makes is just part of the charm.

Ingredients for Peanut Butter Blossoms
Base Ingredients
- Creamy Peanut Butter: You want the good stuff here, the kind that stirs easily. Don’t use natural, oil-separated peanut butter unless you want a crumbly mess I tried that once and it worked… kinda, but not really. Go for Jif or Skippy, trust me.
- Unsalted Butter: Softened to room temperature! This is crucial for that smooth, creamy dough. If it’s too cold, you’ll fight with your mixer, and if it’s melted, your cookies will spread too much. I’ve had both disasters!
- Granulated Sugar: For sweetness and that classic crisp edge.
- Brown Sugar (packed): Adds a lovely chewiness and a hint of molasses flavor that really complements the peanut butter. Don’t skimp on packing it down, it makes a difference!
- Large Egg: Binds everything together. Make sure it’s at room temp too, for a more uniform dough.
- Vanilla Extract: Honestly, I always add a splash more than the recipe calls for. It just boosts all the flavors! Use real vanilla, not imitation, if you can.
Dry Essentials
- All-Purpose Flour: The foundation of our cookie. Make sure to measure it correctly, don’t just scoop straight from the bag, or your cookies might be too dense.
- Baking Soda: Gives these Peanut Butter Blossoms their lift and helps them spread just right.
- Salt: Balances out all that sweetness. A tiny bit goes a long way, but it’s essential!
Finishing Touches
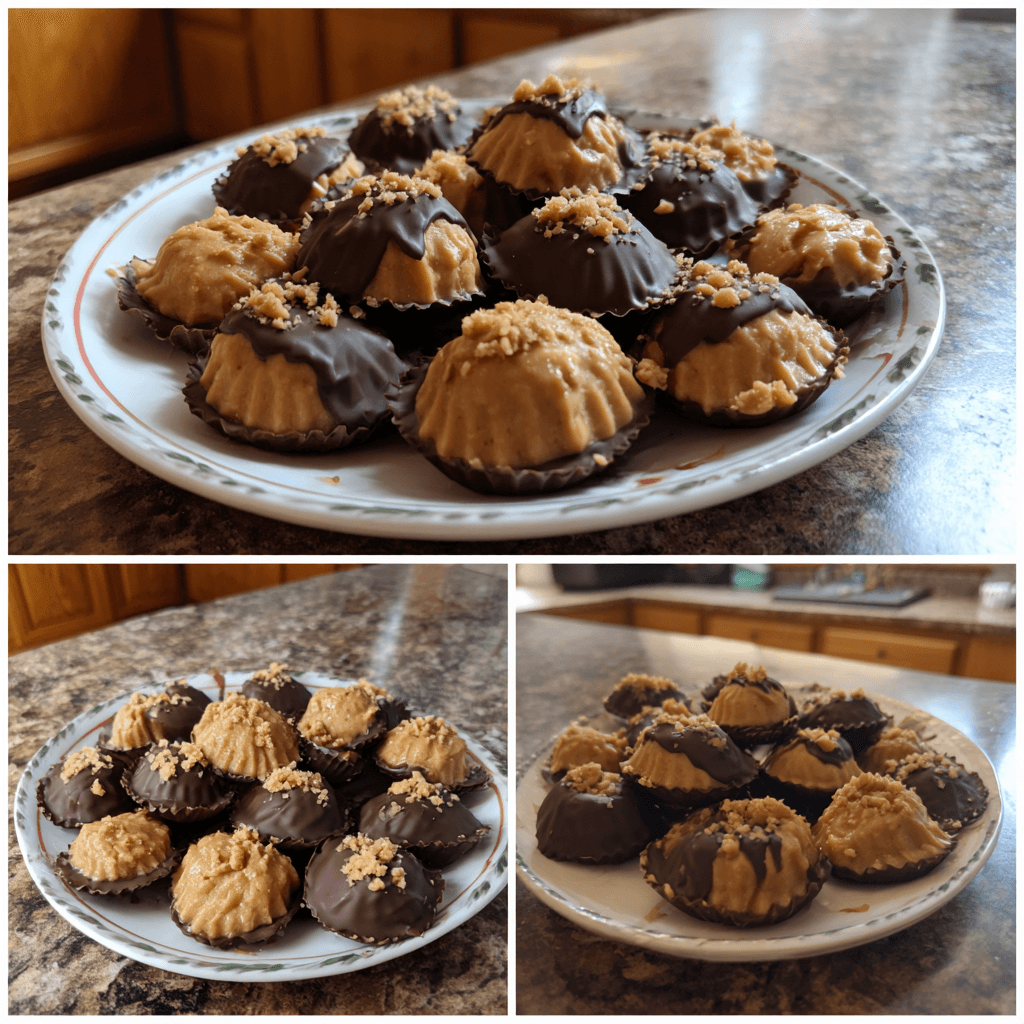
- Hershey’s Kisses (unwrapped): The iconic ‘blossom’! Milk chocolate is the classic, but I’ve seen white chocolate or even caramel-filled ones used for a fun twist.
Crafting Your Peanut Butter Blossoms
- Creaming the Good Stuff:
- First up, get that softened butter and both sugars into your stand mixer. Or a big bowl with a hand mixer, no judgment! Cream them together until they’re light and fluffy, usually about 2-3 minutes. You want it to look almost pale, like a little cloud. This is where I always get excited, because it smells so sweet and promising, a sign of good cookies to come.
- Adding the Wet Wonders:
- Next, beat in the creamy peanut butter until it’s fully incorporated. Scrape down the sides of the bowl, because that peanut butter likes to hide! Then, crack in your egg and a generous splash of vanilla. Mix until everything is just combined. Don’t overmix here, or your cookies might get tough. I didn’t expect that the first time I made them, and my cookies were like hockey pucks, oops!
- Bringing in the Dry Team:
- In a separate bowl, whisk together your flour, baking soda, and salt. Now, gradually add this dry mixture to your wet ingredients, mixing on low speed until just combined. Stop as soon as you don’t see any streaks of flour. Honestly, this is where I usually make a small mess, with flour dust puffing up. It’s okay! Just don’t overmix, that’s the real secret for tender Peanut Butter Blossoms.
- Roll ‘Em Up!:
- Time to get your hands a little messy! Roll the dough into 1-inch balls. I like to use a small cookie scoop to keep them uniform, but your hands work just fine. Then, roll each ball in granulated sugar until it’s fully coated. Place them about 2 inches apart on baking sheets lined with parchment paper. This step always makes me feel like a kid again, playing with edible dough!
- Baking Bliss:
- Pop those sugared dough balls into a preheated oven at 375°F (190°C) for about 8-10 minutes. You want the edges to be lightly golden, but the centers should still look a little soft. Don’t overbake them! They’ll continue to set up as they cool. My kitchen starts to smell absolutely divine at this point, that classic warm peanut butter aroma filling the air!
- The Iconic Blossom:
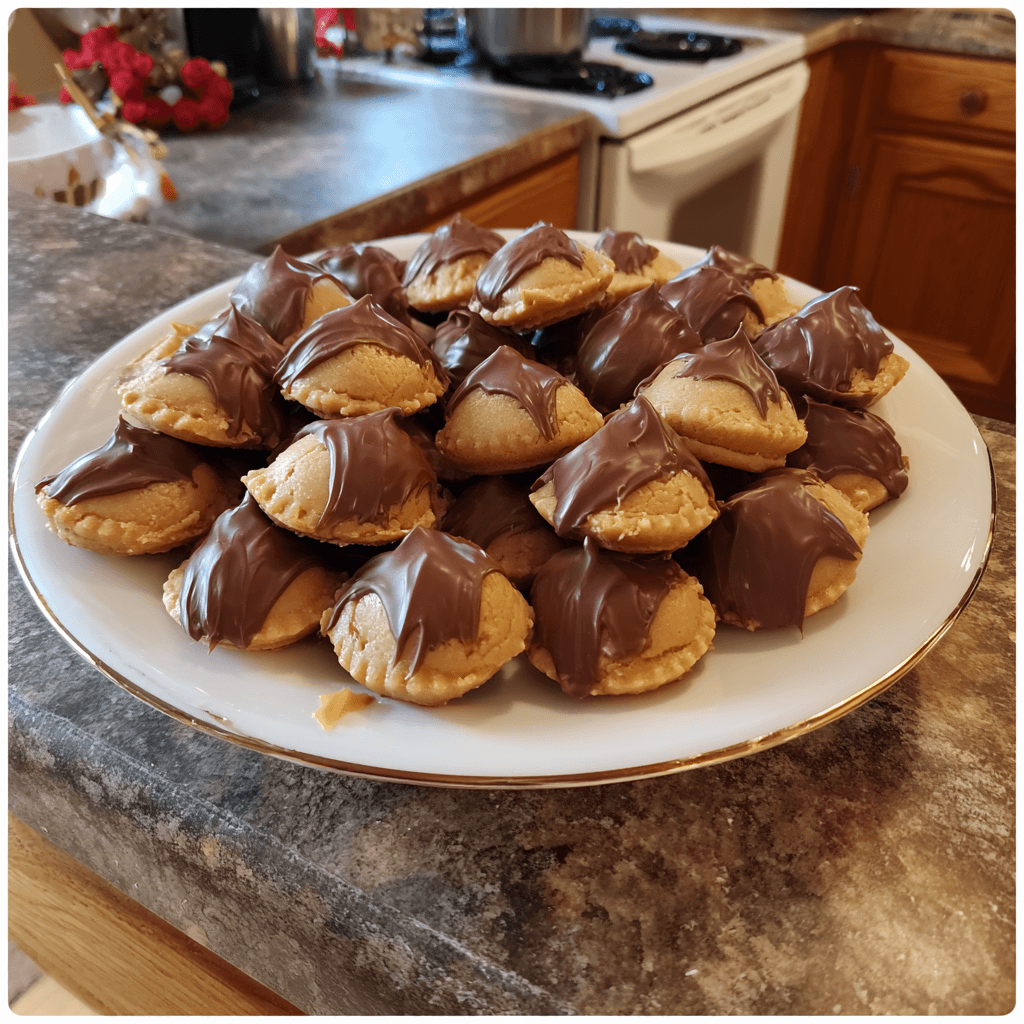
- As soon as you pull the cookies from the oven, immediately press an unwrapped Hershey’s Kiss into the center of each warm cookie. Press firmly enough to create that classic ‘blossom’ look, but not so hard it cracks the cookie. Let them cool on the baking sheet for a few minutes before transferring to a wire rack to cool completely. This is the best part, seeing those perfect Peanut Butter Blossoms come to life!
Oh, the chaos of baking day! I once had my dog, Buster, try to make off with a whole sheet of cooling Peanut Butter Blossoms. He’s a good boy, but those warm chocolatey smells were just too much for him. Luckily, I caught him just in time! It’s moments like those, the little kitchen mishaps, that make baking so memorable and, honestly, make the successful cookies taste even sweeter.
Peanut Butter Blossoms Storage Tips
Once your Peanut Butter Blossoms are completely cool (and I mean completely, or you’ll have a sticky mess), store them in an airtight container at room temperature. They’ll stay wonderfully soft and chewy for about 3-5 days. I’ve tried storing them in the fridge once, thinking they’d last longer, but the chocolate Kisses got all hard and the cookies dried out a bit. So don’t do that lol! If you want to keep them longer, you can freeze the baked cookies in a freezer-safe bag or container for up to 3 months. Just thaw them at room temperature when a craving hits. They taste almost as good as fresh!
Ingredient Substitutions for Peanut Butter Blossoms
Listen, sometimes you’re out of something, right? If you don’t have unsalted butter, you can use salted, just reduce the added salt in the recipe by about a quarter teaspoon. I tried that once and it worked… kinda, the cookies were a little saltier but still good. For the peanut butter, stick to creamy, processed varieties for the best texture. I’ve heard of people using almond butter, but the flavor profile is different, and the texture can be less chewy. As for the Hershey’s Kisses, if you don’t have them, you can use other small chocolate candies, like M&M’s, or even just press a chocolate chip into the center. It won’t be a classic blossom, but it’ll still be a delicious chocolatey peanut butter cookie!
Serving Your Peanut Butter Blossoms
Honestly, these Peanut Butter Blossoms are perfect all on their own, fresh from the cooling rack with a glass of cold milk. But if you’re feeling fancy, they pair beautifully with a scoop of vanilla bean ice cream, especially if the cookies are still a little warm! For a cozy evening, I love them with a hot cup of black coffee or a soothing herbal tea. They’re also a total hit at holiday cookie exchanges or as a sweet treat for school lunches. My kids absolutely adore finding them in their lunchboxes, it’s like a little surprise hug from home.
The Story Behind Peanut Butter Blossoms
The Peanut Butter Blossom cookie has a sweet history, dating back to 1957 when Freda Smith of Gibsonburg, Ohio, won a Pillsbury Bake-Off contest with her recipe. It quickly became a beloved classic, especially around the holidays. For me, these cookies represent that timeless, comforting American baking tradition. They’re not fancy, they’re not complicated, but they embody pure joy and nostalgia. Discovering this recipe felt like unearthing a piece of culinary history that instantly clicked with my own childhood memories of simple, delicious treats. It’s a testament to how a humble cookie can become such a cherished part of our food culture.
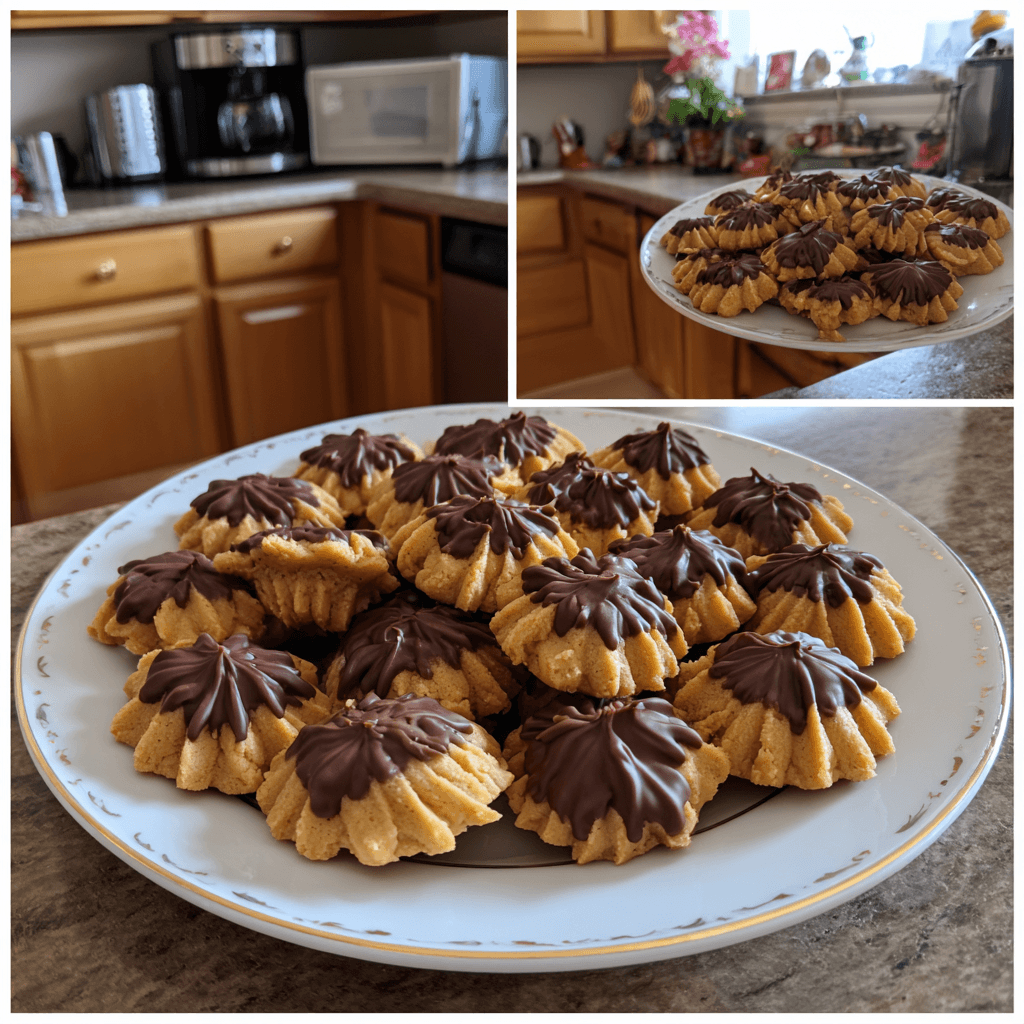
And there you have it, my friends! These Peanut Butter Blossoms are more than just cookies, they’re a little piece of home, a reminder of sweet moments, and a testament to simple, delicious pleasures. Seeing those perfectly set Kisses on top of the golden cookies always brings a smile to my face. I hope you bake them, share them, and maybe even make a delightful mess in your kitchen. Tag me if you do, I’d love to see your creations!
Frequently Asked Questions about Peanut Butter Blossoms
- → Why do my Peanut Butter Blossoms spread too much?
Oh, I’ve been there! It’s usually because your butter was too warm or your oven wasn’t hot enough. Make sure your butter is just softened, not melted, and preheat that oven properly. A quick chill of the dough can help too, honestly.
- → Can I use natural peanut butter for Peanut Butter Blossoms?
I tried this once and it worked… kinda, but not really for the classic texture. Natural peanut butter tends to make the cookies more crumbly and less chewy. I really recommend sticking to creamy, processed peanut butter for these guys.
- → How do I keep the Hershey’s Kisses from melting completely?
The key is to press them into the cookies immediately after they come out of the oven. The residual heat will soften them just enough to stick and meld slightly, but they won’t melt into a puddle if you let the cookies cool for just a minute or two on the sheet first.
- → How long do Peanut Butter Blossoms last?
In my experience, stored in an airtight container at room temperature, these Peanut Butter Blossoms stay fresh and chewy for about 3-5 days. If they last that long in your house, you’re doing better than me!
- → Can I make Peanut Butter Blossoms gluten-free?
I haven’t personally tried it, but many readers have had success with a 1:1 gluten-free all-purpose flour blend. Just be mindful that the texture might be slightly different. Let me know if you try it!

Peanut Butter Blossoms: Soft, Chewy, Chocolate-Kissed
- Prep Time: 15 Minutes
- Cook Time: 10 Minutes
- Total Time: 25 Minutes
- Yield: 36 Servings 1x
- Category: AllRecipes
Description
Bake classic Peanut Butter Blossoms! My recipe shares soft, chewy cookies with a chocolate kiss, just like grandma made. Easy, nostalgic, and always a hit.
Ingredients
- Base Ingredients:
- 1/2 cup (1 stick) unsalted butter, softened
- 1/2 cup creamy peanut butter
- 1/2 cup granulated sugar, plus more for rolling
- 1/2 cup packed light brown sugar
- 1 large egg, room temperature
- 1 teaspoon vanilla extract
- Dry Essentials:
- 1 3/4 cups all-purpose flour
- 1 teaspoon baking soda
- 1/2 teaspoon salt
- Finishing Touches:
- Approximately 36 Hershey’s Kisses, unwrapped
Instructions
- Creaming the Good Stuff:: First up, get that softened butter and both sugars into your stand mixer. Or a big bowl with a hand mixer, no judgment! Cream them together until they’re light and fluffy, usually about 2-3 minutes. You want it to look almost pale, like a little cloud. This is where I always get excited, because it smells so sweet and promising, a sign of good cookies to come.
- Adding the Wet Wonders:: Next, beat in the creamy peanut butter until it’s fully incorporated. Scrape down the sides of the bowl, because that peanut butter likes to hide! Then, crack in your egg and a generous splash of vanilla. Mix until everything is just combined. Don’t overmix here, or your cookies might get tough. I didn’t expect that the first time I made them, and my cookies were like hockey pucks, oops!
- Bringing in the Dry Team:: In a separate bowl, whisk together your flour, baking soda, and salt. Now, gradually add this dry mixture to your wet ingredients, mixing on low speed until just combined. Stop as soon as you don’t see any streaks of flour. Honestly, this is where I usually make a small mess, with flour dust puffing up. It’s okay! Just don’t overmix, that’s the real secret for tender Peanut Butter Blossoms.
- Roll ‘Em Up!:: Time to get your hands a little messy! Roll the dough into 1-inch balls. I like to use a small cookie scoop to keep them uniform, but your hands work just fine. Then, roll each ball in granulated sugar until it’s fully coated. Place them about 2 inches apart on baking sheets lined with parchment paper. This step always makes me feel like a kid again, playing with edible dough!
- Baking Bliss:: Pop those sugared dough balls into a preheated oven at 375°F (190°C) for about 8-10 minutes. You want the edges to be lightly golden, but the centers should still look a little soft. Don’t overbake them! They’ll continue to set up as they cool. My kitchen starts to smell absolutely divine at this point, that classic warm peanut butter aroma filling the air!
- The Iconic Blossom:: As soon as you pull the cookies from the oven, immediately press an unwrapped Hershey’s Kiss into the center of each warm cookie. Press firmly enough to create that classic ‘blossom’ look, but not so hard it cracks the cookie. Let them cool on the baking sheet for a few minutes before transferring to a wire rack to cool completely. This is the best part, seeing those perfect Peanut Butter Blossoms come to life!


