

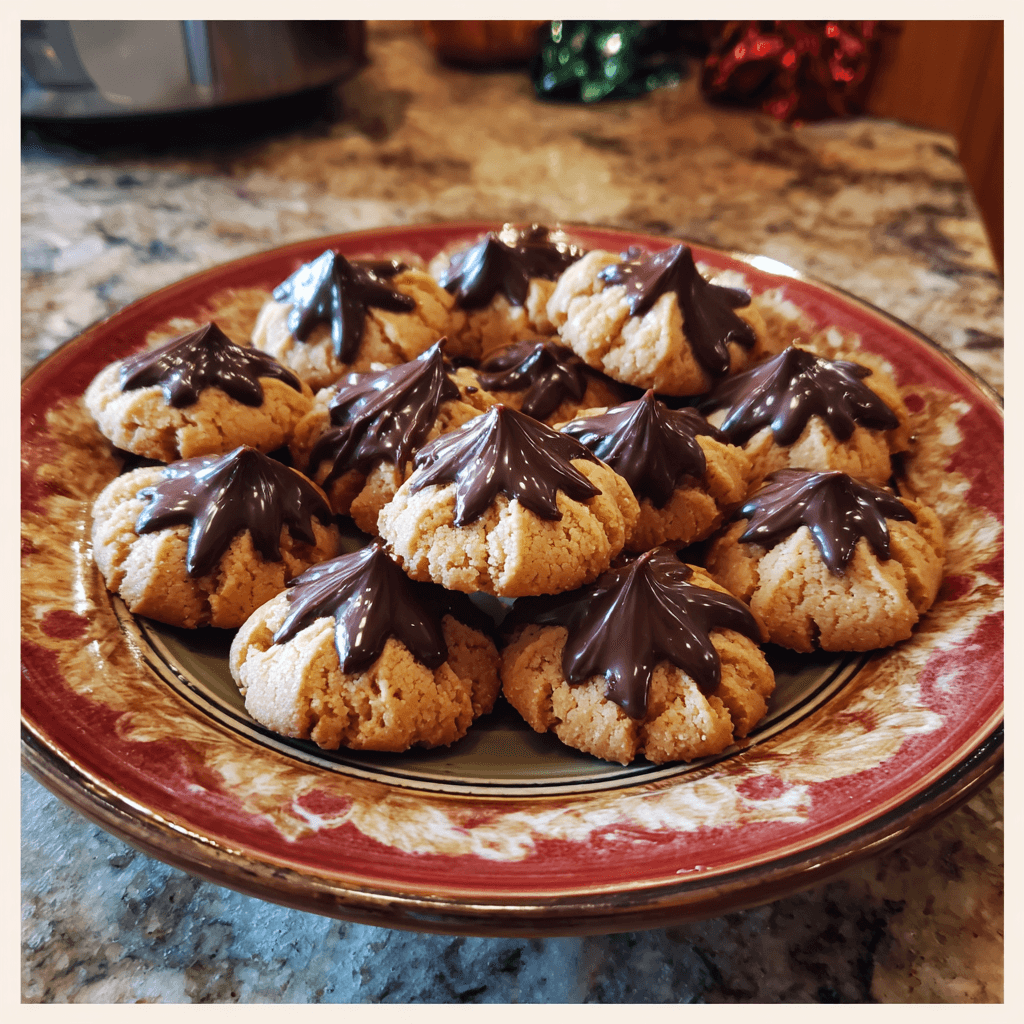
My Aunt Carol, bless her heart, was always the queen of holiday baking, even if her kitchen looked like a flour bomb went off. I remember watching her one Christmas, covered in powdered sugar, wrestling with a batch of Peanut Butter Blossoms. I was just a kid, probably covered in sticky dough myself, and the smell of roasting peanuts and melting chocolate was pure magic. She’d always say, “These aren’t just cookies, honey, they’re little hugs!” And honestly, she wasn’t wrong. This Peanut Butter Blossoms recipe brings all that warmth and nostalgia right back. It’s special because it tastes like home, even with my own gluten-free twist.
One year, I got a little too ambitious with the cookie press for these Peanut Butter Blossoms. I thought I’d make them “fancy,” but the dough was too stiff, and I ended up with a pile of sad, squashed lumps. My husband, bless his heart, said they still tasted “rustic.” We laughed, tossed the press, and went back to rolling them by hand. Sometimes, the simplest way is really the best way, you know?

Peanut Butter Blossoms Ingredients
- Creamy Peanut Butter: Seriously, use the regular, no-stir kind. I once tried natural, oil-separated stuff, and the cookies spread into sad, flat puddles. Lesson learned!
- Unsalted Butter: Room temp is absolutely key, don’t rush it in the microwave like I did once it makes for greasy cookies that don’t hold their shape.
- Granulated Sugar: Gives that classic sweetness and helps with the signature crinkly tops and lovely chewiness we all adore.
- Brown Sugar (packed): Adds depth, a hint of caramel, and a lovely moistness to these cookies. Don’t skimp, it truly makes a difference!
- Large Egg: This binds everything together beautifully. If you forget it, you’ll have crumbly chaos, trust me, I’ve been there.
- Vanilla Extract: The unsung hero! A good quality vanilla just makes everything smell and taste like a dream, adding that extra layer of warmth.
- Gluten-Free All-Purpose Flour Blend (with xanthan gum): This is crucial for our gluten-free Peanut Butter Blossoms. I’ve had good luck with Bob’s Red Mill 1-to-1, it always works out.
- Baking Soda: Gives that little lift and helps achieve those gorgeous crinkly tops that make these cookies so inviting.
- Salt: Balances the sweetness and really brings out the rich peanut butter flavor. Don’t skip it, it’s essential for a well-rounded taste!
- Hershey’s Kisses (milk chocolate): The iconic “blossom” top! Make sure they’re cold so they don’t melt too fast when pressed into the warm cookies.
How to Make Peanut Butter Blossoms
- Cream the Butter & Sugars:
- First up, get your unsalted butter and both sugars into a mixing bowl. You want to beat them together until they’re light and fluffy, about 2-3 minutes with a stand mixer. This step is where you incorporate air, which is super important for a tender cookie. I always get excited at this stage, it smells so sweet and promising, and sometimes I’ll even sneak a tiny taste of the mixture, shhh!
- Add Wet Ingredients:
- Next, crack in that large egg and pour in the vanilla extract. Mix until just combined, scraping down the sides of the bowl to make sure everything is incorporated. You don’t want to overmix here, we’re just aiming for a smooth, cohesive wet mixture. I once added the egg too early and it looked a bit scrambled with the butter, oops! Just keep mixing gently until it comes together.
- Mix in Peanut Butter:
- Now for the star! Add your creamy peanut butter to the wet mixture and beat until it’s fully blended. The dough will start to take on that gorgeous, nutty aroma that just screams comfort. Make sure there are no streaks of peanut butter left, it should all be one uniform, delicious-looking concoction. This is where the magic really starts to happen, honestly.
- Combine Dry Ingredients:
- In a separate bowl, whisk together your gluten-free flour blend, baking soda, and salt. Give it a good whisk to ensure everything is evenly distributed. This step is important for preventing pockets of leavening or salt in your cookies, which I learned the hard way with a surprisingly salty batch once!
- Add Dry to Wet:
- Gradually add the dry ingredients to the wet mixture, mixing on low speed until just combined. Be careful not to overmix here, overworking gluten-free flour can make the cookies tough. The dough will be thick and slightly crumbly, but should hold together when pressed. This is where I start picturing those perfect little crinkled balls!
- Roll & Bake:
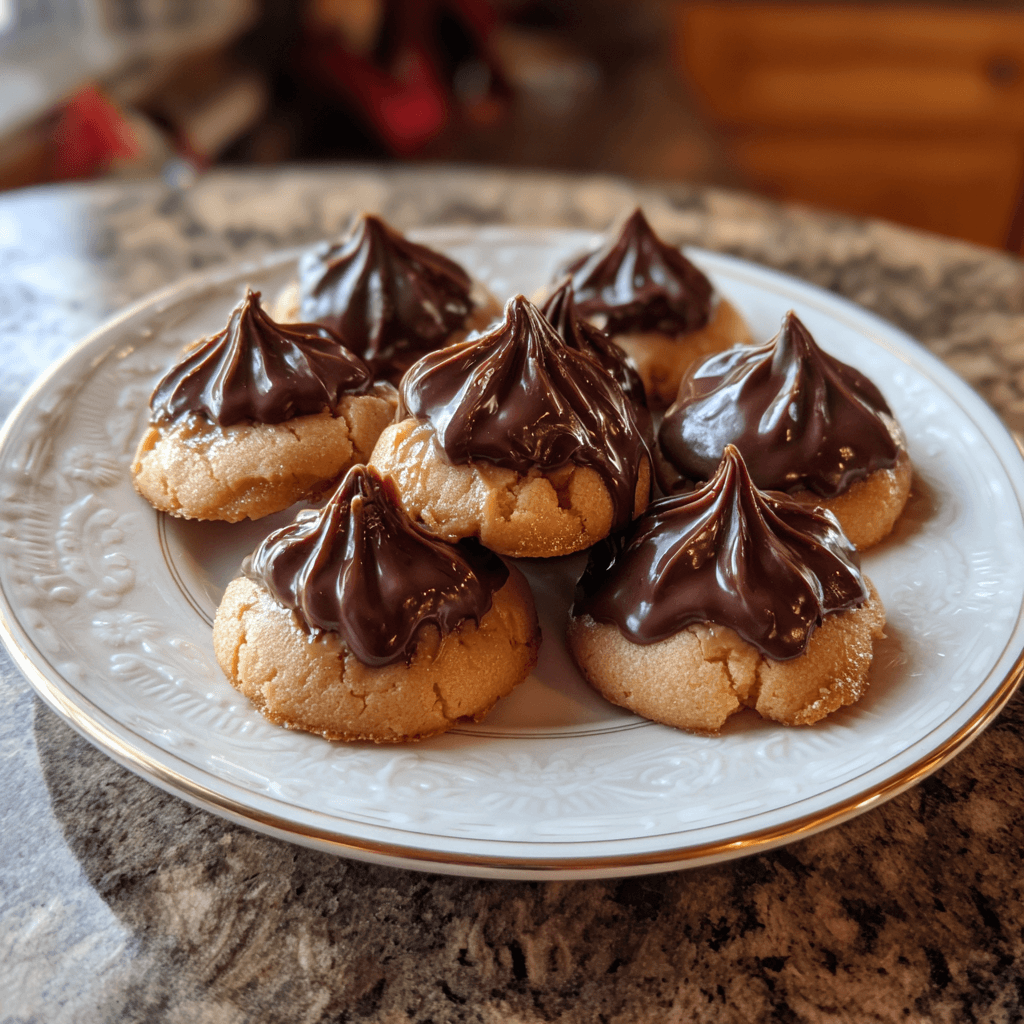
- Roll the dough into small, 1-inch balls, then roll each ball in granulated sugar to coat. Place them on a parchment-lined baking sheet and bake for about 8-10 minutes, or until the edges are lightly golden. They’ll look a little underdone in the middle, and that’s okay! Immediately upon removing them from the oven, gently press a cold Hershey’s Kiss into the center of each warm cookie. Let them cool on the baking sheet for a few minutes before transferring to a wire rack to cool completely. The smell of warm peanut butter and melting chocolate is just heavenly!
Making this Peanut Butter Blossoms recipe always fills my kitchen with such a comforting, nutty aroma. There was one time I was so distracted trying to listen to a podcast and bake, I forgot to chill the dough. The cookies totally melted into each other on the baking sheet! It was a mess, but hey, we just broke them apart and called them “peanut butter bark.” Still tasted good, honestly. It’s a reminder that even when things go awry, the love in baking still shines through.
Peanut Butter Blossoms Storage Tips
Okay, so these Peanut Butter Blossoms store really well, which is a total win for holiday prep! I usually keep them in an airtight container at room temperature for up to 5 days. I once tried to stack them while they were still a little warm, and the chocolate kisses got all smooshed into the cookie below. Oops! So, make sure they’re completely cooled before piling them up. If you want them to last longer, you can freeze them for up to 3 months. Just thaw them on the counter, and they’re almost as good as fresh. Honestly, they rarely last that long in my house because they get devoured so quickly!
Peanut Butter Blossoms Ingredient Substitutions
I’ve played around with this Peanut Butter Blossoms recipe quite a bit, so I have some honest thoughts on swaps. For the peanut butter, almond butter works in a pinch, but the flavor profile is definitely different less classic, more… sophisticated, I guess? I tried sunflower seed butter once for a nut-free version, and it worked, kinda, but the cookies had a slight greenish tint from the baking soda reacting with the sunflower seeds. Visually, it was a bit jarring, but taste-wise, it was fine. As for the chocolate kisses, mini peanut butter cups are a fun switch, or even a square of dark chocolate for a richer flavor. I wouldn’t mess with the butter or sugars too much, though, those are pretty foundational for the texture we want.
Serving Your Peanut Butter Blossoms
These Peanut Butter Blossoms are just begging for a tall glass of cold milk, honestly. That creamy, nutty cookie with a sip of milk? Pure nostalgia. But I’ve also found they’re fantastic alongside a warm mug of herbal tea on a chilly evening, especially one with a hint of vanilla or chamomile. For a little dessert spread, I love pairing them with a simple vanilla ice cream or even a scoop of chocolate sorbet to cut through the richness. And for a holiday cookie tray, they just look so festive with their little chocolate hats! They’re perfect after a big family dinner, or just when you need a little pick-me-up during a rom-com marathon.
Cultural Backstory
The Peanut Butter Blossoms recipe, with its signature Hershey’s Kiss, has been a beloved American holiday cookie for decades. It’s believed to have originated in 1957 when Freda Smith of Gibsonburg, Ohio, submitted her “Peanut Butter Kisses” recipe to a Pillsbury Bake-Off contest. While it didn’t win the grand prize, it quickly captured hearts across the nation. For me, it was always a staple at my grandmother’s house during Christmas. That familiar crinkled cookie with the chocolate hat just screams “holidays” and “family” louder than almost any other cookie. It’s more than just a recipe, it’s a little bite of Americana and a lot of cherished memories.
And there you have it, my friends! This Peanut Butter Blossoms recipe is truly a classic for a reason. Every time I pull a fresh batch out of the oven, I’m transported back to Aunt Carol’s bustling kitchen, and that’s a feeling I wouldn’t trade for anything. They turned out just as soft, chewy, and perfectly peanut buttery as I remembered, with that glorious chocolate kiss on top. I really hope you give these a whirl and maybe even make some new memories of your own. Let me know how your batch turns out!
Peanut Butter Blossoms FAQs
- → Can I use natural peanut butter for Peanut Butter Blossoms?
Honestly, I wouldn’t recommend it. I tried once, and the oils separated, making the cookies spread too much and get greasy. Stick to creamy, no-stir peanut butter for the best texture and shape, trust me on this!
- → How do I keep the chocolate kisses from melting too much?
Ah, the classic dilemma! Make sure your Hershey’s Kisses are chilled beforehand. Also, press them into the cookies immediately after they come out of the oven while they’re still hot. The residual heat will soften them just enough without fully melting.
- → My gluten-free Peanut Butter Blossoms are too crumbly, what went wrong?
This happened to me once! It’s usually a sign the dough was too dry, or maybe you didn’t pack the brown sugar enough. Make sure your egg is large, and don’t overbake them, a slightly underbaked cookie is better than an overbaked, crumbly one.
- → Can I make the dough for this Peanut Butter Blossoms recipe ahead of time?
Absolutely! You can prepare the dough and chill it in the fridge for up to 2-3 days. Just let it sit at room temperature for about 15-20 minutes before rolling, as it might be a bit stiff straight from the cold.
- → What if I don’t have Hershey’s Kisses for my Peanut Butter Blossoms?
No problem! I’ve used mini Reese’s peanut butter cups (placed after baking) or even a square of your favorite chocolate bar. You could also drizzle melted chocolate over them once cooled for a different look, that’s a fun idea too!
Peanut Butter Blossoms Recipe | Soft & Chewy Kiss Cookies
- Prep Time: 20 Minutes
- Cook Time: 10 Minutes
- Total Time: 45 Minutes
- Yield: 36 Servings 1x
- Category: AllRecipes
Description
This Peanut Butter Blossoms recipe delivers soft, chewy gluten-free cookies with a chocolate kiss. A holiday classic for sweet, nostalgic moments!
Ingredients
- Base Ingredients:
- 1 cup (240g) creamy peanut butter (no-stir kind)
- 1/2 cup (113g) unsalted butter, softened
- 1/2 cup (100g) granulated sugar, plus more for rolling
- 1/2 cup (110g) packed light brown sugar
- 1 large egg
- 1 teaspoon vanilla extract
- Dry Mix:
- 1 1/4 cups (180g) gluten-free all-purpose flour blend (with xanthan gum)
- 1 teaspoon baking soda
- 1/2 teaspoon salt
- Finishing Touches:
- 36 Hershey’s Kisses, unwrapped and chilled
Instructions
- Cream the Butter & Sugars:: First up, get your unsalted butter and both sugars into a mixing bowl. You want to beat them together until they’re light and fluffy, about 2-3 minutes with a stand mixer. This step is where you incorporate air, which is super important for a tender cookie. I always get excited at this stage, it smells so sweet and promising, and sometimes I’ll even sneak a tiny taste of the mixture, shhh!
- Add Wet Ingredients:: Next, crack in that large egg and pour in the vanilla extract. Mix until just combined, scraping down the sides of the bowl to make sure everything is incorporated. You don’t want to overmix here; we’re just aiming for a smooth, cohesive wet mixture. I once added the egg too early and it looked a bit scrambled with the butter, oops! Just keep mixing gently until it comes together.
- Mix in Peanut Butter:: Now for the star! Add your creamy peanut butter to the wet mixture and beat until it’s fully blended. The dough will start to take on that gorgeous, nutty aroma that just screams comfort. Make sure there are no streaks of peanut butter left, it should all be one uniform, delicious-looking concoction. This is where the magic really starts to happen, honestly.
- Combine Dry Ingredients:: In a separate bowl, whisk together your gluten-free flour blend, baking soda, and salt. Give it a good whisk to ensure everything is evenly distributed. This step is important for preventing pockets of leavening or salt in your cookies, which I learned the hard way with a surprisingly salty batch once!
- Add Dry to Wet:: Gradually add the dry ingredients to the wet mixture, mixing on low speed until just combined. Be careful not to overmix here; overworking gluten-free flour can make the cookies tough. The dough will be thick and slightly crumbly, but should hold together when pressed. This is where I start picturing those perfect little crinkled balls!
- Roll & Bake:: Roll the dough into small, 1-inch balls, then roll each ball in granulated sugar to coat. Place them on a parchment-lined baking sheet and bake for about 8-10 minutes, or until the edges are lightly golden. They’ll look a little underdone in the middle, and that’s okay! Immediately upon removing them from the oven, gently press a cold Hershey’s Kiss into the center of each warm cookie. Let them cool on the baking sheet for a few minutes before transferring to a wire rack to cool completely. The smell of warm peanut butter and melting chocolate is just heavenly!


