

Honestly, I stumbled upon the idea for this Espresso Martini Cake after a particularly spirited girls’ night in. We were attempting to make espresso martinis, and let’s just say my kitchen looked like a coffee bean explosion. The next morning, nursing a slight headache, I just kept thinking about that rich coffee and subtle boozy sweetness. What if I could capture that vibe in a cake? It sounded wild, a little messy, and totally me. This Espresso Martini Cake isn’t just a dessert, it’s a memory, a delicious little rebel in cake form that brings those fun, slightly chaotic evenings right back to the table.
I remember the first time I tried to soak the cake layers for this Espresso Martini Cake. I got a little overzealous with the coffee-Kahlúa mixture, and the first layer almost disintegrated. Oops! It was a good lesson in patience and gentle pouring, and honestly, a bit of a laugh. My dog, bless her heart, gave me the most judgmental look from under the table. But hey, that’s how we learn, right? Now, I nail that perfect moistness every single time, making this Espresso Martini Cake a true triumph.

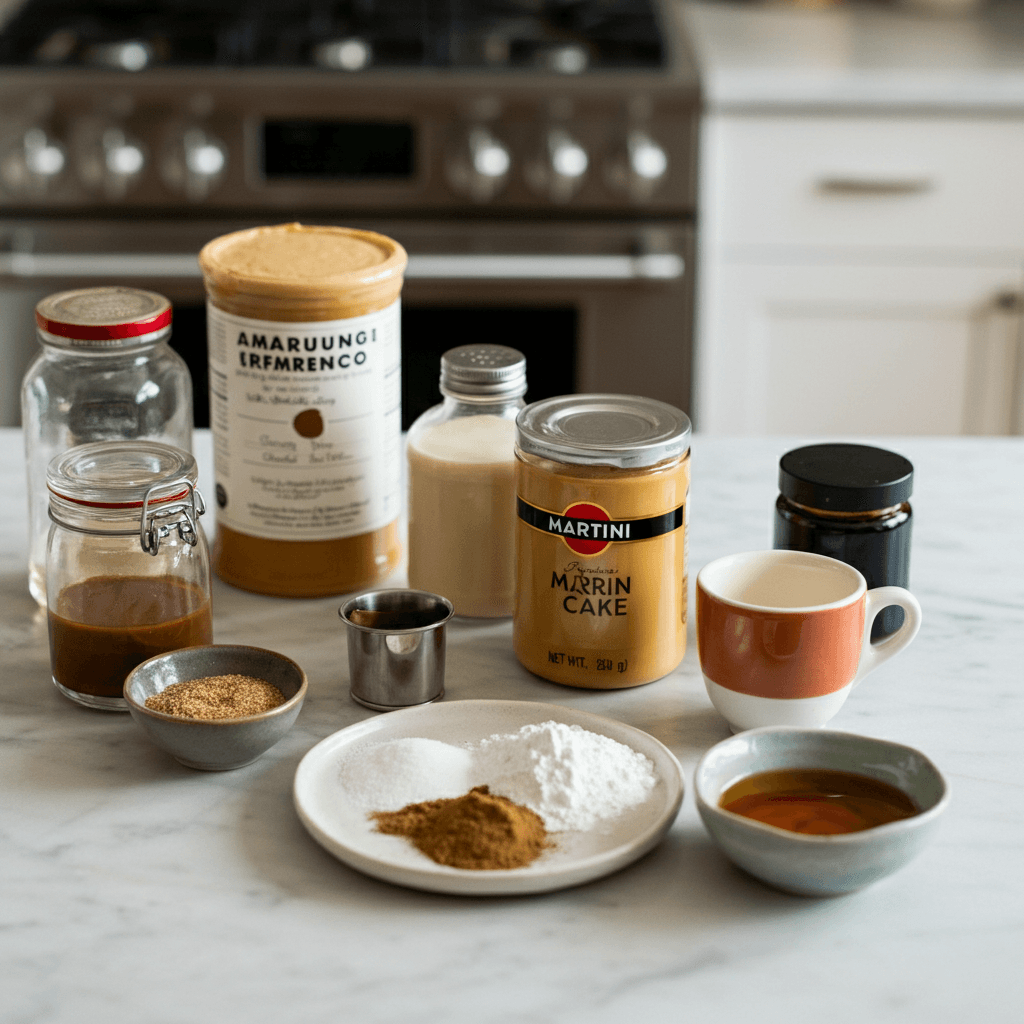
Ingredients
Cake Batter Essentials
- All-Purpose Flour: This is our base, the backbone of the Espresso Martini Cake. Don’t go for cake flour here, we need a bit more structure for all that lovely liquid.
- Granulated Sugar: For sweetness, obviously! I always feel like a kid in a candy store when I’m measuring sugar, honestly.
- Unsalted Butter: Room temperature is key, people! I once tried to cream cold butter, and it was a lumpy, frustrating mess. Learn from my mistakes.
- Large Eggs: Binds everything together and adds richness. I always try to get local eggs, the yolks are just so vibrant!
- Buttermilk: Adds tenderness and a slight tang. Don’t have it? Milk + a splash of lemon juice or vinegar works perfectly in a pinch.
Coffee & Kahlúa Soak
- Strong Brewed Espresso: The star of our Espresso Martini Cake! Use good quality espresso, hon. This isn’t the time for instant coffee, trust me.
- Kahlúa (Coffee Liqueur): Adds that signature martini warmth. I tried a different coffee liqueur once, and it just didn’t hit the same notes. Kahlúa is where it’s at.
Creamy Espresso Frosting
- Cream Cheese: Softened, please! Don’t try to rush it in the microwave, it gets weird. This gives the frosting its delightful tang and creaminess.
- Powdered Sugar: For that smooth, sweet frosting. Sift it if you’re feeling fancy (or if you hate lumps like I do).
- Heavy Cream: Whipped into stiff peaks, it lightens the frosting beautifully. It’s like magic watching it transform, honestly.
- Vanilla Extract: Just a touch to round out the flavors. I always use real vanilla, makes a world of difference.
- Espresso Powder: For that concentrated coffee kick in the frosting. This is what makes it an Espresso Martini Cake, after all!
Finishing Touches
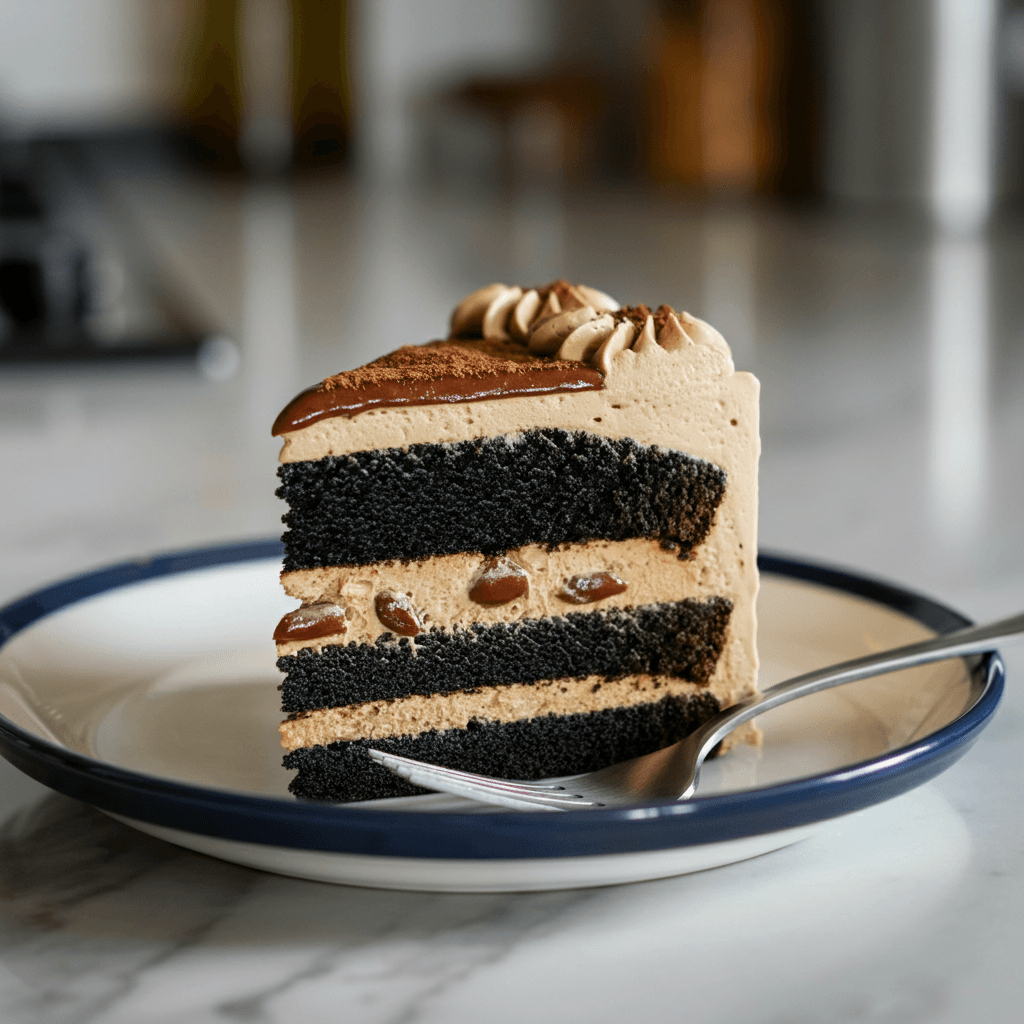
- Chocolate-Covered Espresso Beans: For garnish! They add a lovely crunch and a visual nod to our inspiration.
- Cocoa Powder: A light dusting makes it look extra professional.
Instructions
- Prep the Espresso Martini Cake Pans & Preheat:
- First things first, get those oven mitts ready! Preheat your oven to 350°F (175°C). Then, butter and flour two 8-inch round cake pans. Honestly, I sometimes use parchment paper circles on the bottom too, just for extra insurance against sticking. Nothing worse than a beautiful cake refusing to come out of the pan, right? The smell of the butter melting slightly on the warm pans always reminds me of my grandma’s kitchen.
- Mix the Dry Ingredients:
- In a medium bowl, whisk together your all-purpose flour, granulated sugar, baking powder, and salt. Give it a good whisk, making sure everything is evenly combined. This is where I sometimes get a little flour on my nose, a classic kitchen mess! It’s important for the Espresso Martini Cake to have these dry ingredients well distributed so it bakes up perfectly even. Don’t skip this, a lumpy cake is no fun, believe me.
- Cream Butter and Sugar:
- In a large bowl, using an electric mixer, cream together the softened unsalted butter and granulated sugar until it’s light and fluffy. This step takes a few minutes, so be patient! It should look pale yellow and airy, honestly. This is the foundation for a tender Espresso Martini Cake, so don’t skimp on the creaming time. I once rushed this and my cake was a bit dense, never again!
- Add Eggs and Buttermilk:
- Beat in the large eggs, one at a time, mixing well after each addition. Then, gradually add the buttermilk, alternating with the dry ingredients, beginning and ending with the dry. Mix just until combined, overmixing develops gluten, which makes for a tough cake. I always smell the sweet butter and vanilla at this stage, it’s just so comforting!
- Bake the Espresso Martini Cake Layers:
- Divide the batter evenly between your prepared cake pans. Pop them into the preheated oven and bake for 28-32 minutes, or until a toothpick inserted into the center comes out clean. My oven runs a little hot, so I always start checking around 25 minutes. The kitchen starts smelling heavenly, like a coffee shop, honestly! Let them cool in the pans for about 10 minutes before inverting them onto a wire rack to cool completely. Patience is a virtue here!
- Prepare the Soak and Frosting:
- While the cakes cool, mix the strong brewed espresso and Kahlúa for the soak. For the frosting, beat cream cheese until smooth, then add powdered sugar, espresso powder, and vanilla. Gradually beat in the heavy cream until light and fluffy. This frosting for the Espresso Martini Cake should be creamy and spreadable, but not runny. I always taste-test the frosting, you know, just to make sure it’s perfect.
- Assemble Your Espresso Martini Cake:
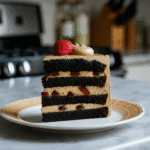
- Once the cake layers are completely cool, brush each layer generously with the espresso-Kahlúa soak. Then, place one layer on your serving plate, spread with a good dollop of frosting, top with the second layer, and frost the top and sides. Garnish with chocolate-covered espresso beans and a dusting of cocoa powder. It looks so impressive, honestly, like something from a fancy bakery!
Honestly, the best part about making this Espresso Martini Cake is the quiet satisfaction when it’s all done. My kitchen might be a bit of a war zone with flour dust and sticky bowls, but seeing those perfectly frosted layers, smelling that rich coffee aroma? Pure joy. It’s those small, imperfect moments in the kitchen that make baking so real and so good. This Espresso Martini Cake has become a little tradition now, a sweet reminder of good times and even better company.
Espresso Martini Cake Storage Tips
So, you’ve got leftover Espresso Martini Cake (if that’s even a thing, honestly!). Here’s what I’ve learned from my own kitchen trials. This cake holds up really well, thankfully. You can store it covered, at room temperature, for about 2 days. Beyond that, I pop it in an airtight container in the fridge. It’ll stay fresh for up to 5 days there. I once left a slice out overnight and the frosting got a little crusty, so don’t do that lol. The flavors actually deepen a bit in the fridge, especially that lovely coffee and Kahlúa soak. Just bring it to room temperature for about 30 minutes before serving again for the best texture. Freezing? Yes, you can! Wrap individual slices tightly in plastic wrap, then foil, and freeze for up to a month. Thaw in the fridge overnight. It’s a lifesaver for those unexpected cravings!
Espresso Martini Cake Ingredient Substitutions
I’ve played around with this Espresso Martini Cake recipe quite a bit, honestly, mostly because I’m always out of something. For the Kahlúa, if you’re avoiding alcohol or just don’t have it, a strong coffee syrup or even a little extra brewed espresso with a touch of vanilla extract can work. It won’t have the same boozy kick, but the coffee flavor will still shine. I tried using Irish cream once, and it was good, but it gave the cake a completely different vibe, a bit sweeter and less intense. For the cream cheese frosting, if you’re not a fan, a simple vanilla buttercream with espresso powder folded in is lovely too. I’ve even used a mascarpone frosting, which was incredibly rich and luxurious. Just remember, these swaps will alter the final taste, but sometimes, a little kitchen experimentation is exactly what you need!
Espresso Martini Cake Serving Suggestions
This Espresso Martini Cake is a showstopper on its own, but I’ve got a few ideas to make it even more special. For a sophisticated evening, I love serving a slice with a tiny shot of espresso on the side, or even a small glass of Kahlúa over ice. It just elevates the whole experience! For a more casual vibe, a scoop of vanilla bean ice cream or a dollop of freshly whipped cream is always a hit. Honestly, I’ve even enjoyed a slice with my morning coffee don’t judge, it’s basically a coffee cake, right? It’s perfect for a celebratory dinner, a special birthday, or just when you want to treat yourself after a long week. This Espresso Martini Cake just feels right for any occasion where you want something a little extra.
Cultural Backstory
While the Espresso Martini cocktail itself has a rather glitzy, late-80s London origin story, this Espresso Martini Cake is my own little homage to that era of sophisticated indulgence. The idea really stemmed from my fascination with taking classic cocktail flavors and transforming them into desserts. There’s something so playful about it, almost a wink and a nod to grown-up pleasures. For me, it connects to those nights spent laughing with friends, trying new things, and sometimes making a glorious mess in the kitchen. It’s not about some ancient culinary tradition, but about creating new traditions, new ways to enjoy familiar tastes, and sharing those delicious moments with the people you care about. This Espresso Martini Cake is a modern classic in my book, born from curiosity and a love for good coffee and good company.
So there you have it, my beloved Espresso Martini Cake. It’s been a journey, full of trial and error (and a few sticky situations), but it’s so worth it. Every slice is a little piece of joy, a reminder of those fun, slightly chaotic evenings that inspired it all. I hope you give this Espresso Martini Cake a try and make it your own. Let me know how it turns out, and don’t be shy about sharing your own kitchen adventures!
Frequently Asked Questions
- → Can I make this Espresso Martini Cake without the Kahlúa?
Yes, you can! I’ve tried it. Just replace the Kahlúa in the soak with an equal amount of strong brewed espresso or a coffee syrup. It’ll still be a delicious coffee cake, just without the alcoholic kick.
- → What if I don’t have buttermilk for this Espresso Martini Cake?
No worries! I’ve been there. You can easily make your own. Just add 1 tablespoon of lemon juice or white vinegar to a measuring cup, then fill it up to 1 cup with regular milk. Let it sit for 5-10 minutes until it curdles a bit. Works perfectly!
- → My frosting for the Espresso Martini Cake is too runny, what went wrong?
Oh, I’ve had that happen! It usually means your butter or cream cheese was too warm, or you over-whipped the heavy cream. Try chilling the frosting for 20-30 minutes, it often stiffens right up. If not, carefully add a little more powdered sugar.
- → How far in advance can I bake the Espresso Martini Cake layers?
You can totally bake the cake layers a day or two ahead! Just let them cool completely, wrap them tightly in plastic wrap, and store them at room temperature. Frost the cake closer to when you plan to serve it for the freshest result.
- → Can I add other flavors to this Espresso Martini Cake?
Absolutely! I’ve experimented with a tiny bit of orange zest in the batter, which was surprisingly good. A dash of cinnamon or even a bit of chocolate shavings folded into the frosting could be fun too. Go wild, it’s your kitchen!
Rich Espresso Martini Cake: Coffee & Kahlúa Treat
- Prep Time: 30 Minutes
- Cook Time: 30 Minutes
- Total Time: 1 Hour 30 Minutes
- Yield: 12 Servings 1x
- Category: Dinner
Description
Bake a rich Espresso Martini Cake! This decadent coffee-soaked cake with creamy frosting and Kahlúa notes is a sophisticated dessert for any occasion.
Ingredients
- Cake Batter Essentials:
- 2 ½ cups all-purpose flour
- 1 ½ cups granulated sugar
- 2 tsp baking powder
- ½ tsp salt
- ¾ cup unsalted butter, softened
- 3 large eggs
- 1 cup buttermilk
- Coffee & Kahlúa Soak:
- ½ cup strong brewed espresso, cooled
- ¼ cup Kahlúa (coffee liqueur)
- Creamy Espresso Frosting:
- 8 oz cream cheese, softened
- ½ cup unsalted butter, softened
- 4 cups powdered sugar, sifted
- 1 tbsp espresso powder
- 1 tsp vanilla extract
- ¼ cup heavy cream, whipped to stiff peaks
- Finishing Touches:
- Chocolate-covered espresso beans, for garnish
- Cocoa powder, for dusting
Instructions
- Prep the Espresso Martini Cake Pans & Preheat:: First things first, get those oven mitts ready! Preheat your oven to 350°F (175°C). Then, butter and flour two 8-inch round cake pans. Honestly, I sometimes use parchment paper circles on the bottom too, just for extra insurance against sticking. Nothing worse than a beautiful cake refusing to come out of the pan, right? The smell of the butter melting slightly on the warm pans always reminds me of my grandma’s kitchen.
- Mix the Dry Ingredients:: In a medium bowl, whisk together your all-purpose flour, granulated sugar, baking powder, and salt. Give it a good whisk, making sure everything is evenly combined. This is where I sometimes get a little flour on my nose, a classic kitchen mess! It’s important for the Espresso Martini Cake to have these dry ingredients well distributed so it bakes up perfectly even. Don’t skip this; a lumpy cake is no fun, believe me.
- Cream Butter and Sugar:: In a large bowl, using an electric mixer, cream together the softened unsalted butter and granulated sugar until it’s light and fluffy. This step takes a few minutes, so be patient! It should look pale yellow and airy, honestly. This is the foundation for a tender Espresso Martini Cake, so don’t skimp on the creaming time. I once rushed this and my cake was a bit dense; never again!
- Add Eggs and Buttermilk:: Beat in the large eggs, one at a time, mixing well after each addition. Then, gradually add the buttermilk, alternating with the dry ingredients, beginning and ending with the dry. Mix just until combined; overmixing develops gluten, which makes for a tough cake. I always smell the sweet butter and vanilla at this stage, it’s just so comforting!
- Bake the Espresso Martini Cake Layers:: Divide the batter evenly between your prepared cake pans. Pop them into the preheated oven and bake for 28-32 minutes, or until a toothpick inserted into the center comes out clean. My oven runs a little hot, so I always start checking around 25 minutes. The kitchen starts smelling heavenly, like a coffee shop, honestly! Let them cool in the pans for about 10 minutes before inverting them onto a wire rack to cool completely. Patience is a virtue here!
- Prepare the Soak and Frosting:: While the cakes cool, mix the strong brewed espresso and Kahlúa for the soak. For the frosting, beat cream cheese until smooth, then add powdered sugar, espresso powder, and vanilla. Gradually beat in the heavy cream until light and fluffy. This frosting for the Espresso Martini Cake should be creamy and spreadable, but not runny. I always taste-test the frosting, you know, just to make sure it’s perfect.
- Assemble Your Espresso Martini Cake:: Once the cake layers are completely cool, brush each layer generously with the espresso-Kahlúa soak. Then, place one layer on your serving plate, spread with a good dollop of frosting, top with the second layer, and frost the top and sides. Garnish with chocolate-covered espresso beans and a dusting of cocoa powder. It looks so impressive, honestly, like something from a fancy bakery!


