I will never forget the first time I was in charge of the stuffing. It was Thanksgiving, the kitchen was a beautiful disaster zone of simmering pots and half-chopped vegetables, and the air smelled like pure chaos and joy. My grandma, the queen of the kitchen, handed me her stained, handwritten recipe card. It was for a classic sausage stuffing, but to be real, I wanted to try something different. Something… mine. That’s how this Apple Walnut Stuffing was born. It started as an experiment, a total shot in the dark. I remember thinking, “Apples in stuffing? Is that even a thing?” Turns out, it’s the best thing. The sweetness of the apple cuts through the savory herbs, the walnuts give it this amazing, toasty crunch, and the fresh sage and thyme just scream comfort. The first time I made it, I definitely forgot to toast the walnuts and they were a little… soft. Oops. But now? After years of tweaking, it’s become the one dish everyone requests. It’s more than just a side dish; it’s the smell of home, the sound of family laughing, and the feeling of creating a tradition, one slightly burnt batch of walnuts at a time.

I once got so distracted talking to my cousin that I almost used salt instead of sugar on the apples. We caught it at the last second! Now, I make sure to have all my little bowls of ingredients prepped and ready to go *before* the family gossip session starts. It’s a kitchen rule I had to learn the hard way, lol.

Ingredients
- Day-Old Bread: This is the star! Please don’t use soft, fresh bread, it will turn into absolute mush. I love using a rustic sourdough or a crusty French baguette. The stale texture is what soaks up all that flavor without falling apart.
- Granny Smith Apples: Their tartness is perfect here. It balances the richness of the butter and walnuts. I tried using a sweeter apple once, like a Gala, and it was just… too much. Stick with the green ones!
- Walnuts: The crunch is everything! Toasting them is a non-negotiable step. It brings out their nutty flavor and makes them extra delicious. I once forgot and the difference was night and day.
- Fresh Herbs (Sage, Thyme, Rosemary): Fresh, fresh, fresh! Please don’t use the dried stuff from the back of your pantry if you can help it. The aroma of fresh sage hitting the hot butter is one of the best smells on earth, honestly.
- Yellow Onion & Celery: The classic stuffing base. They build that savory foundation. I always chop them pretty small so they kind of melt into the background, providing flavor without big chunky bites.
- Vegetable Broth: This is what brings it all together. Use a good quality one! Or chicken broth if you aren’t keeping it vegetarian. You want enough to moisten, but not so much that you’re making bread soup. It’s a delicate balance!
Instructions
- Step 1: Get That Bread Toasty!
- First things first, let’s handle the bread. Spread your stale bread cubes on a baking sheet in a single layer. Don’t crowd the pan! We want them to toast, not steam. Bake them at 375°F (190°C) for about 10-15 minutes, or until they’re golden brown and feel dry to the touch. This step is so important because it helps the bread hold its shape later. Your kitchen will start to smell amazing already. This is where the magic begins!
- Step 2: Sauté the Foundation
- While the bread is in the oven, let’s get the veggies going. Melt a generous amount of butter in a large skillet or Dutch oven over medium heat. Once it’s foamy, add your chopped onion and celery. Cook them down until they’re soft and translucent, which usually takes me about 8 minutes. Don’t rush this part! You’re building layers of flavor. This is also the point where I always spill some chopped celery on the floor. Every. Single. Time. It’s my little kitchen tradition.
- Step 3: Add Apples & Aromatics
- Now, toss in your chopped Granny Smith apples and minced garlic. Cook for another 5 minutes, until the apples start to soften just a little bit around the edges. You don’t want them to turn into applesauce! The goal is for them to hold their shape. The garlic will become super fragrant. This combination of sweet apple and sharp garlic smells absolutely divine and signals that something truly delicious is on the way. It’s a promise of the goodness to come.
- Step 4: Bloom Those Beautiful Herbs
- This is my favorite part! Add the fresh, chopped sage, thyme, and rosemary to the skillet. Stir everything together for just one minute. This quick step in the hot butter helps the herbs “bloom” and releases all their essential oils and incredible fragrance. Seriously, your whole house is about to smell like the coziest holiday dream. This is what makes homemade stuffing so much better than anything from a box. It’s pure, fragrant magic happening right in your pan!
- Step 5: Combine Everything Together
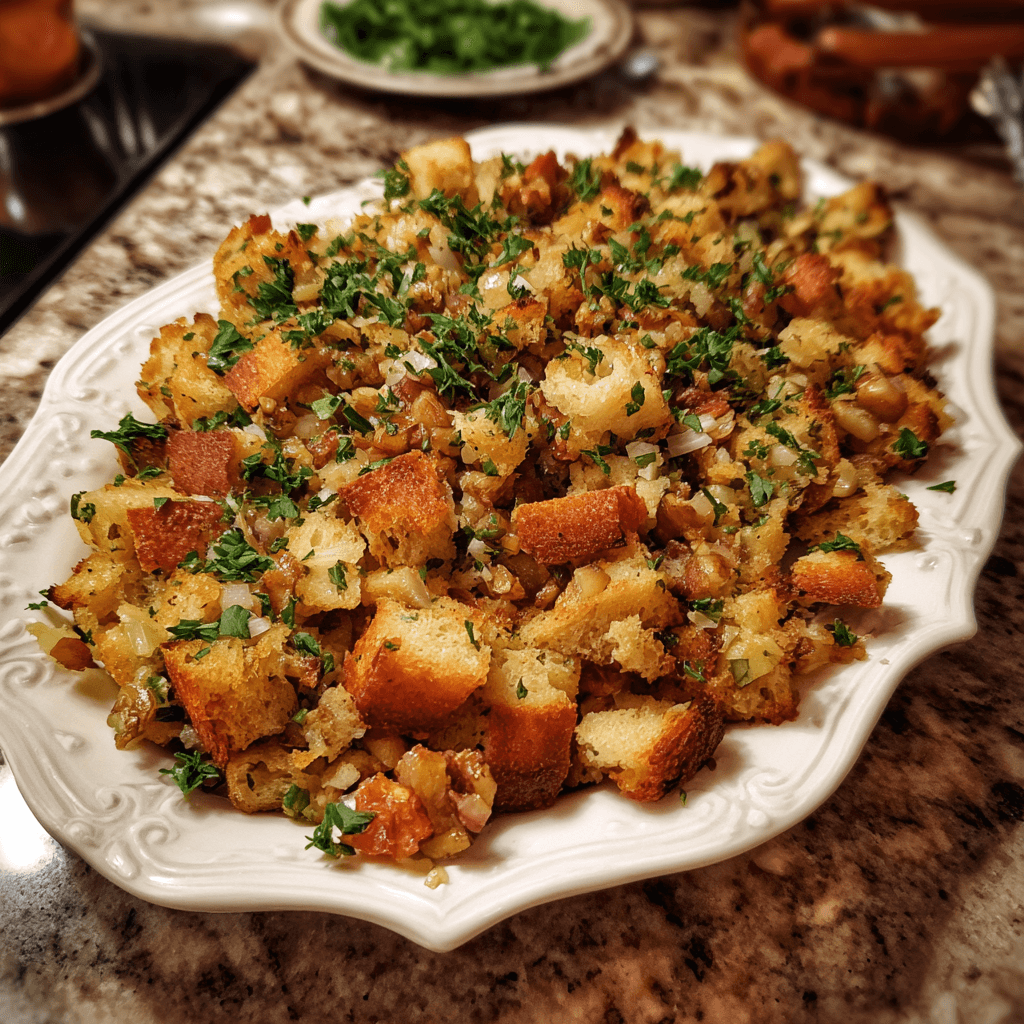
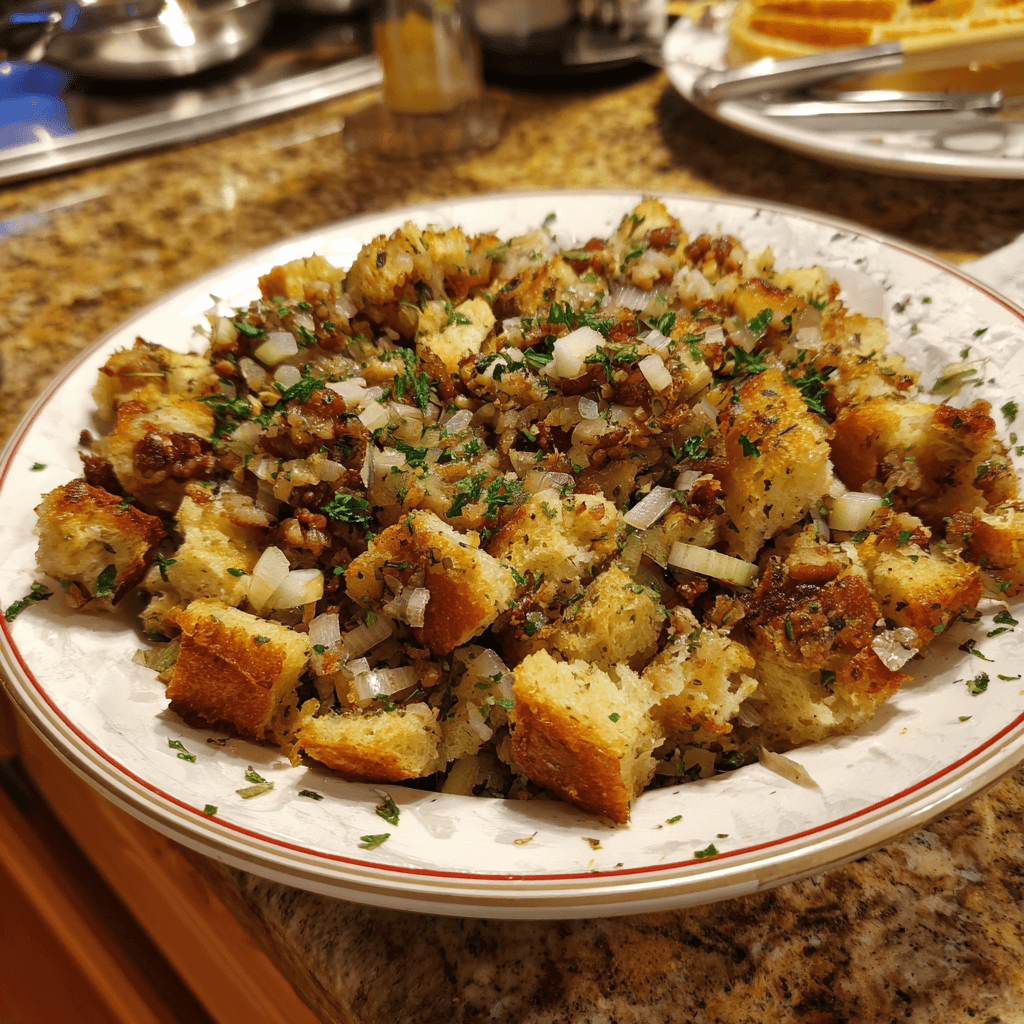
- Time to bring it all together! In a very large bowl, combine your toasted bread cubes, the apple and vegetable mixture from the skillet, and the toasted walnuts. Give it a gentle toss to mix everything without completely crushing the bread. Season generously with salt and pepper. Now, slowly pour in the vegetable broth, starting with about 2 cups and adding more if it looks too dry. You want the bread to be moist, not swimming in liquid.
- Step 6: Bake to Golden Perfection
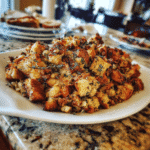
- Transfer the stuffing mixture to a greased 9×13-inch baking dish. I like to dot the top with a few extra pieces of butter because… why not? Cover it with foil and bake for 25 minutes. Then, remove the foil and bake for another 15-20 minutes, or until the top is beautifully golden brown and crispy. The center should be hot and steamy. Letting it rest for a few minutes before serving is hard, but it helps it set up perfectly. Enjoy the cheers!
The best part of making this is sneaking a crispy corner piece right out of the baking dish before anyone else sees. That little crunchy, buttery, herby bite is my reward for all the chopping. It’s a moment of pure, unadulterated kitchen bliss that I look forward to every single year. It’s my little secret, just between us.
Storage Tips
Okay, let’s talk leftovers, because they might be the best part. Once the stuffing has cooled completely (and this is important!), store it in an airtight container in the fridge. It’ll last for a solid 3 to 4 days. When you want to reheat it, my advice is to skip the microwave. I tried it once and it just gets steamy and a little soggy. The best way is to pop it back in the oven at 350°F (175°C) for about 15-20 minutes, maybe with a splash of broth if it seems dry. This brings back that amazing crispy top. You can also freeze it! It freezes surprisingly well for up to a month.
Ingredient Substitutions
I’m a big fan of using what you have, so here are a few swaps I’ve tried. If you don’t have walnuts, toasted pecans are a fantastic, slightly sweeter alternative. I’ve also used hazelnuts, and that was pretty great too! For the bread, almost any crusty loaf works—ciabatta, a rustic Italian loaf, even challah for a richer flavor. If you want to make it extra special, try adding some dried cranberries or crumbled cooked sausage. I once threw in some sautéed mushrooms because I had them, and honestly, I didn’t expect that, but it was a delicious, earthy addition. Don’t be afraid to play around!
Serving Suggestions
Obviously, this stuffing is best friends with a Thanksgiving turkey or a beautiful roasted chicken. But it’s so much more versatile than that! I absolutely love serving it alongside roasted pork chops or a pork loin. The apple in the stuffing is a classic pairing with pork. For a cozy vegetarian main, I’ll serve a big scoop next to some roasted root vegetables and a dollop of cranberry sauce. And to be real, sometimes a big bowl of this stuffing is my entire lunch, and I am not mad about it. Pair it with a crisp white wine like a Sauvignon Blanc to cut through the richness. It’s just perfect.
Cultural Backstory
Stuffing, or “dressing” as it’s called in many parts of the U.S., is the heart of the holiday table for so many families. It started as a way to use up stale bread, a humble dish born from not wasting food. For my family, it was always the dish my grandma made, the one that filled the house with the scent of sage. When I started making my own version with apples and walnuts, it felt like I was adding my own little chapter to our family’s story. It connects me to those chaotic, love-filled holidays of my childhood while also being something that is uniquely mine. It’s a nod to tradition, but with a personal twist.
Every time I pull this dish from the oven, all golden-brown and fragrant, I feel a little rush of pride. It’s simple food, but it’s made with so much love and a few happy accidents along the way. I hope you make it your own and it brings as much joy to your table as it does to mine. Let me know how it turns out!
Frequently Asked Questions
- → Can I prepare this stuffing ahead of time?
Totally! I do it all the time to save my sanity. You can assemble the entire dish a day in advance, cover it, and keep it in the fridge. Just add maybe 10-15 minutes to the covered baking time since it’ll be starting from cold. Works like a charm!
-
Print

Apple Walnut Stuffing with Fresh Herbs
- Prep Time: 20 Minutes
- Cook Time: 45 Minutes
- Total Time: 65 Minutes
- Yield: 8-10 Servings 1x
- Category: Dessert
Description
My cozy, slightly chaotic Apple Walnut Stuffing recipe! Made with fresh herbs, sweet apples, and toasted walnuts, it’s the perfect side for any holiday table.
Ingredients
Scale- For the Stuffing Base:
- 1 loaf (about 1 lb) day-old crusty bread, cut into 1-inch cubes
- 1/2 cup unsalted butter
- 1 large yellow onion, chopped
- 3 celery stalks, chopped
- 2 Granny Smith apples, peeled, cored, and chopped
- Herbs & Aromatics:
- 3 cloves garlic, minced
- 2 tablespoons fresh sage, chopped
- 1 tablespoon fresh thyme leaves
- 1 teaspoon fresh rosemary, chopped
- Flavor & Crunch:
- 1 cup walnuts, toasted and roughly chopped
- 2–3 cups vegetable broth (or chicken broth)
- 1 teaspoon salt
- 1/2 teaspoon black pepper
Instructions
- Toast the Bread Cubes: First things first, let’s handle the bread. Spread your stale bread cubes on a baking sheet in a single layer. Don’t crowd the pan! We want them to toast, not steam. Bake them at 375°F (190°C) for about 10-15 minutes, or until they’re golden brown and feel dry to the touch. This step is so important because it helps the bread hold its shape later. Your kitchen will start to smell amazing already. This is where the magic begins!
- Sauté the Foundation: While the bread is in the oven, let’s get the veggies going. Melt a generous amount of butter in a large skillet or Dutch oven over medium heat. Once it’s foamy, add your chopped onion and celery. Cook them down until they’re soft and translucent, which usually takes me about 8 minutes. Don’t rush this part! You’re building layers of flavor. This is also the point where I always spill some chopped celery on the floor. Every. Single. Time. It’s my little kitchen tradition.
- Add Apples & Aromatics: Now, toss in your chopped Granny Smith apples and minced garlic. Cook for another 5 minutes, until the apples start to soften just a little bit around the edges. You don’t want them to turn into applesauce! The goal is for them to hold their shape. The garlic will become super fragrant. This combination of sweet apple and sharp garlic smells absolutely divine and signals that something truly delicious is on the way. It’s a promise of the goodness to come.
- Bloom Those Beautiful Herbs: This is my favorite part! Add the fresh, chopped sage, thyme, and rosemary to the skillet. Stir everything together for just one minute. This quick step in the hot butter helps the herbs “bloom” and releases all their essential oils and incredible fragrance. Seriously, your whole house is about to smell like the coziest holiday dream. This is what makes homemade stuffing so much better than anything from a box. It’s pure, fragrant magic happening right in your pan!
- Combine Everything Together: Time to bring it all together! In a very large bowl, combine your toasted bread cubes, the apple and vegetable mixture from the skillet, and the toasted walnuts. Give it a gentle toss to mix everything without completely crushing the bread. Season generously with salt and pepper. Now, slowly pour in the vegetable broth, starting with about 2 cups and adding more if it looks too dry. You want the bread to be moist, not swimming in liquid.
- Bake to Golden Perfection: Transfer the stuffing mixture to a greased 9×13-inch baking dish. I like to dot the top with a few extra pieces of butter because… why not? Cover it with foil and bake for 25 minutes. Then, remove the foil and bake for another 15-20 minutes, or until the top is beautifully golden brown and crispy. The center should be hot and steamy. Letting it rest for a few minutes before serving is hard, but it helps it set up perfectly. Enjoy the cheers!